Like me on Facebook!
Re-Created
  • Home
  • Junkman's Crossroads
  • Contact
  • About Me

Upholstery samples Makeover!

1/22/2017

2 Comments

 
Picture
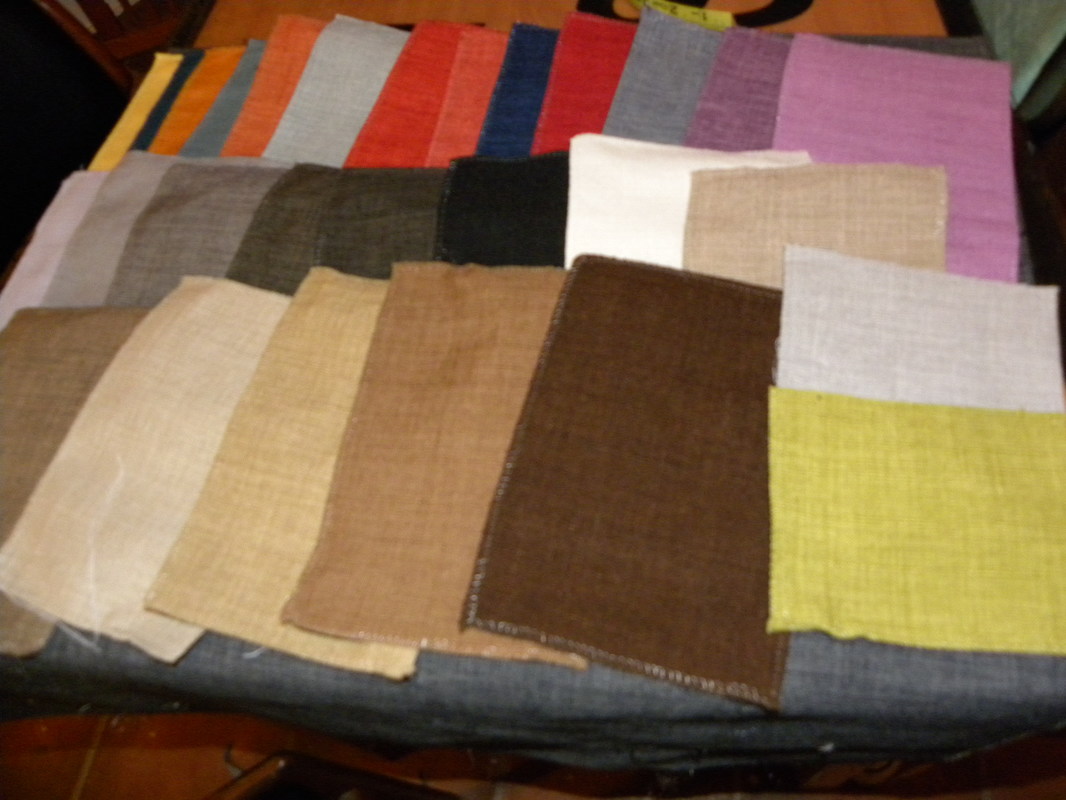
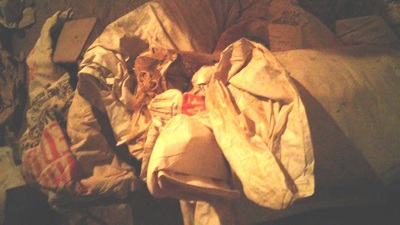
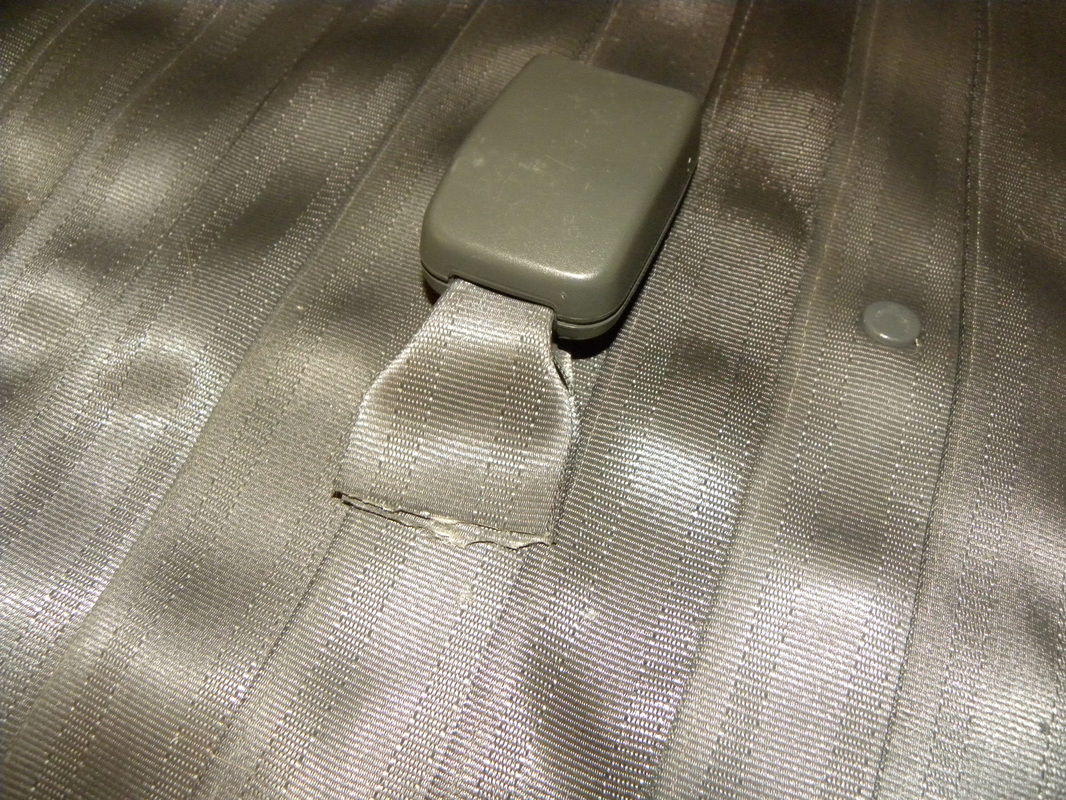
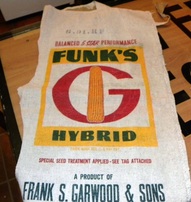
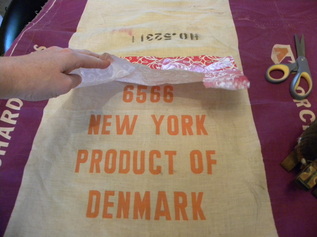
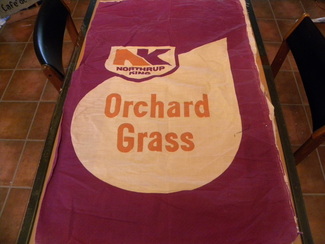
One man's trash is another's treasure right? Well, it is in my world! Upholstery samples take a little work to transform, but you can create some interesting styles with them. Want to see the process?? I just picked up a great upholstery sample pack from The Scrap Exchange in Durham (if you have never been there, WHAT ARE YOU WAITING FOR!). I chose this one because the fabric looked interesting (sort of burlap-y) and I liked the color variety.

Picture
Picture
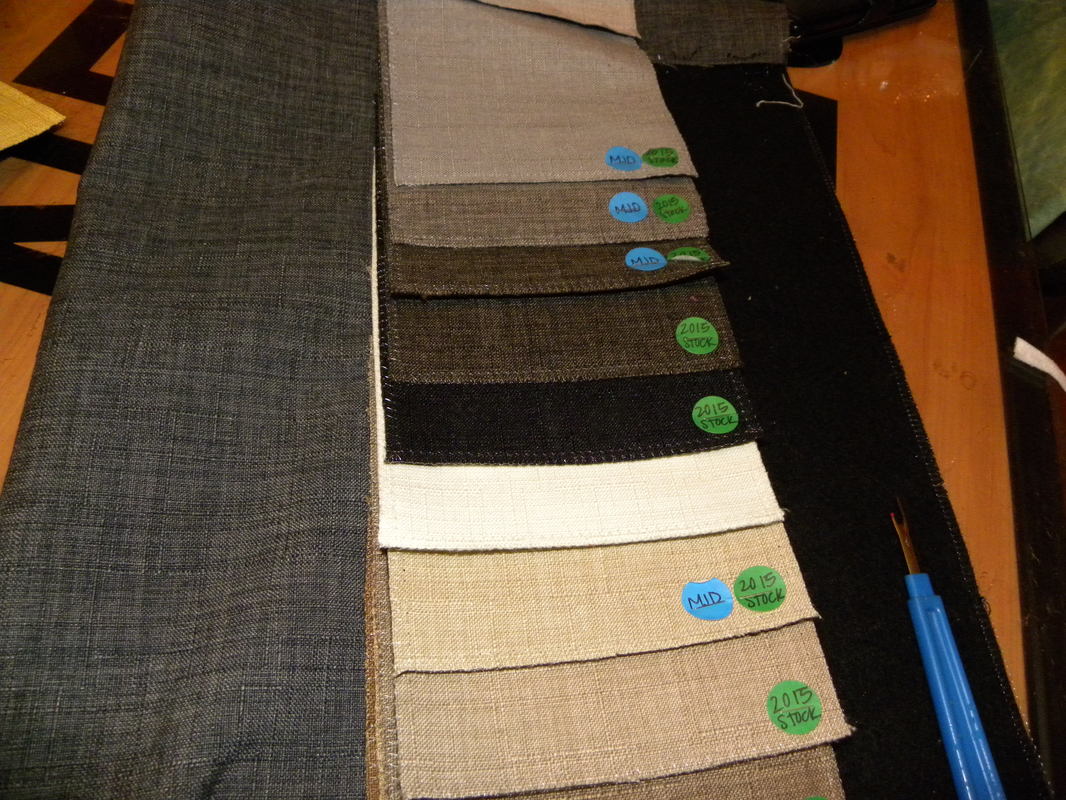
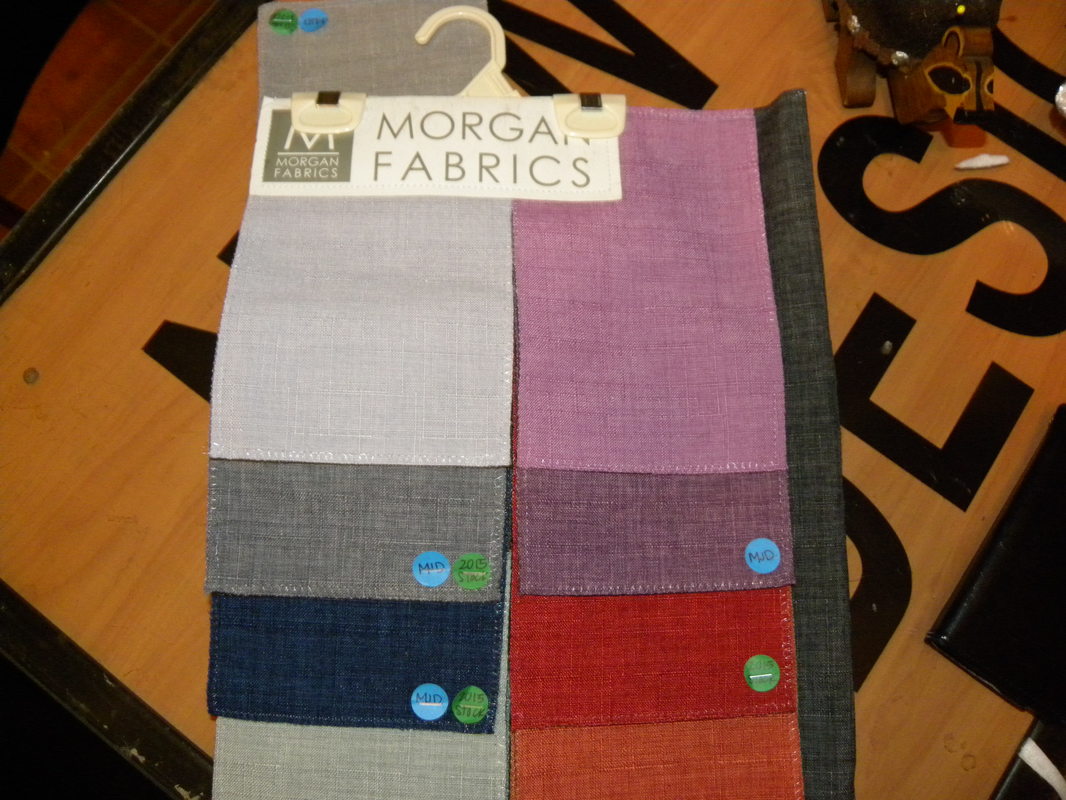
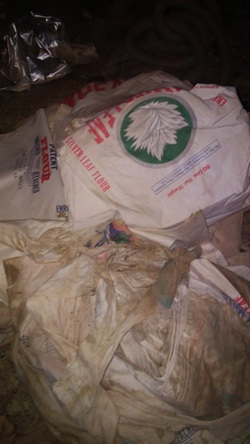
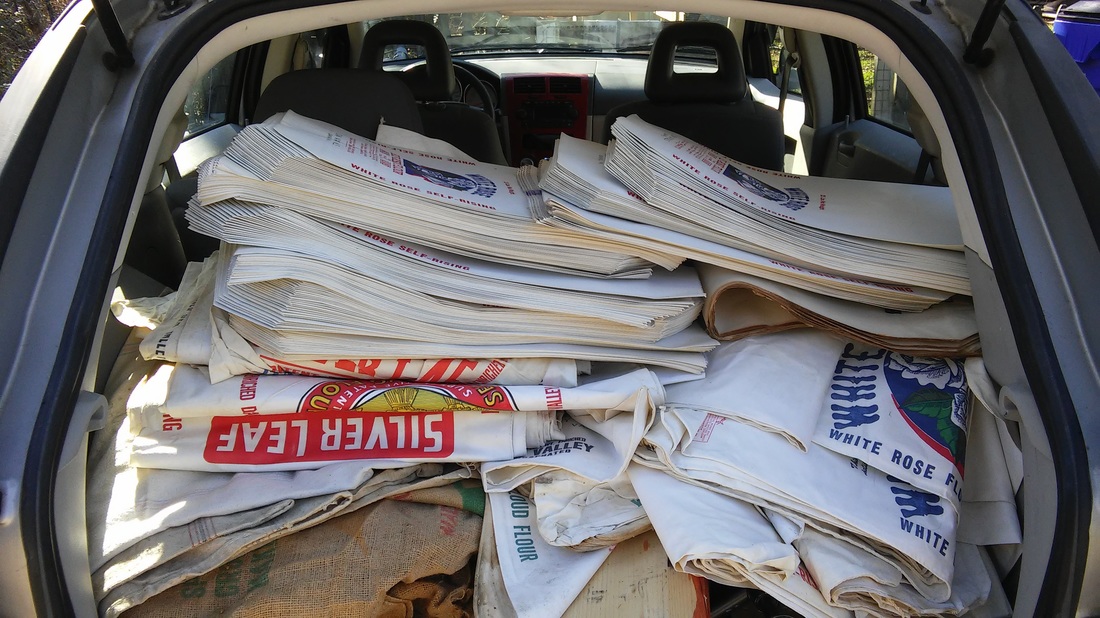
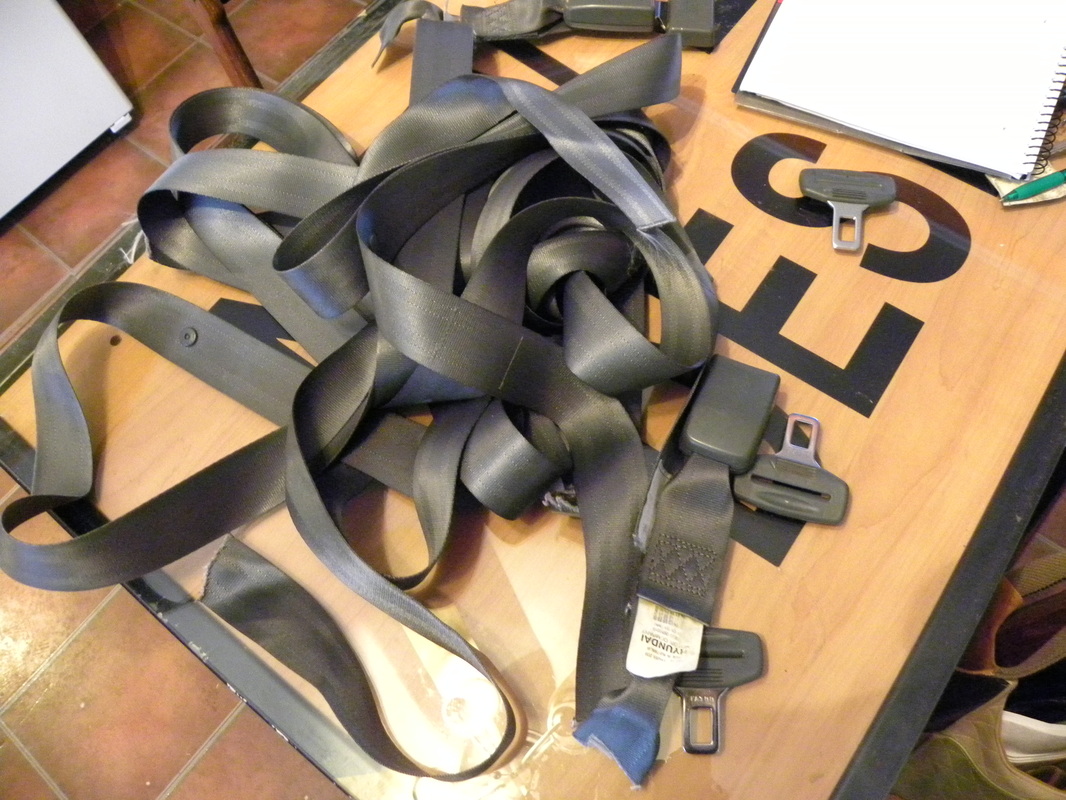
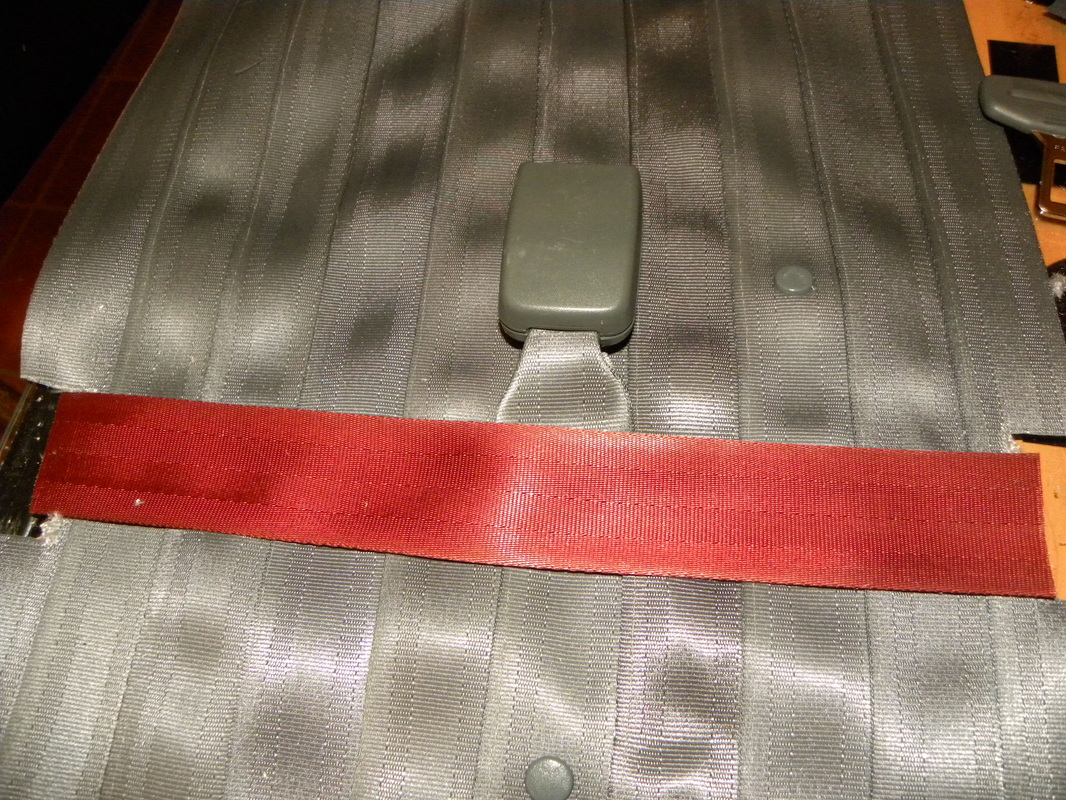
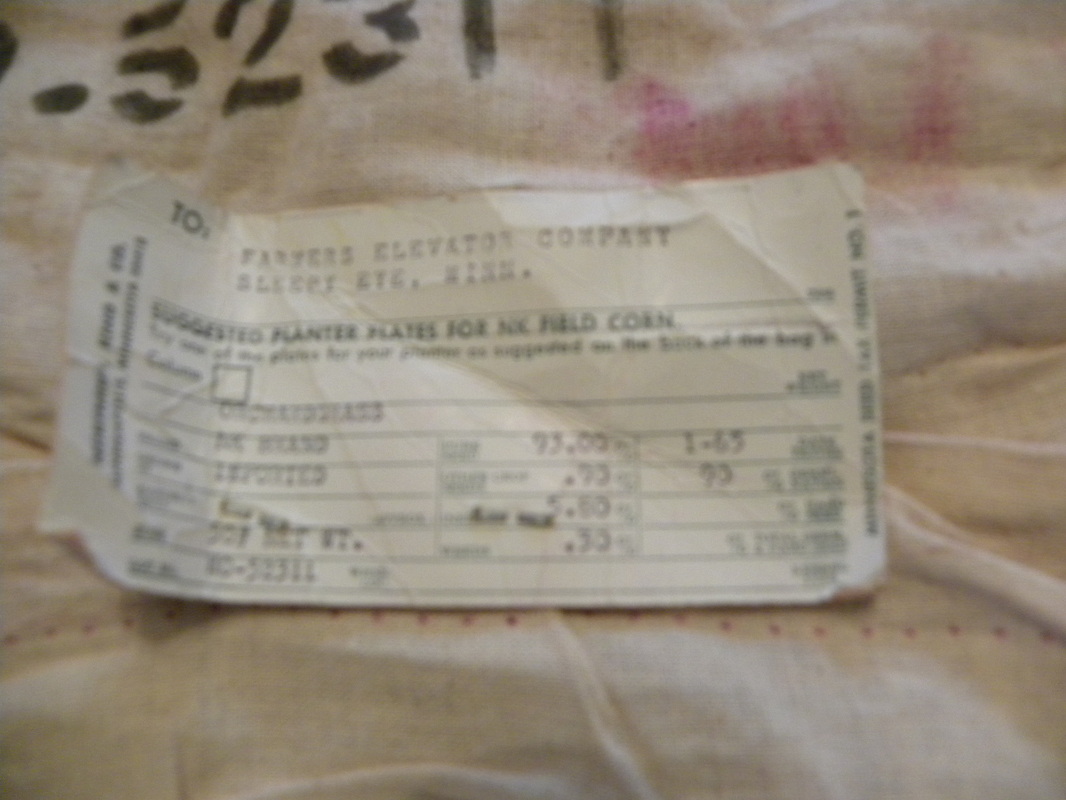
Don't they look all nice and organized? Oh yes, That's how you get sucked into using them. I do like the end result, but it's some work, ya'll. They are all stitched together (including that paper tag at the top). There are also stickers and staples to remove. I was WAY to impatient to go look for a staple remover, and now my nails are a wreck from this process. But I digress...
Picture
Picture
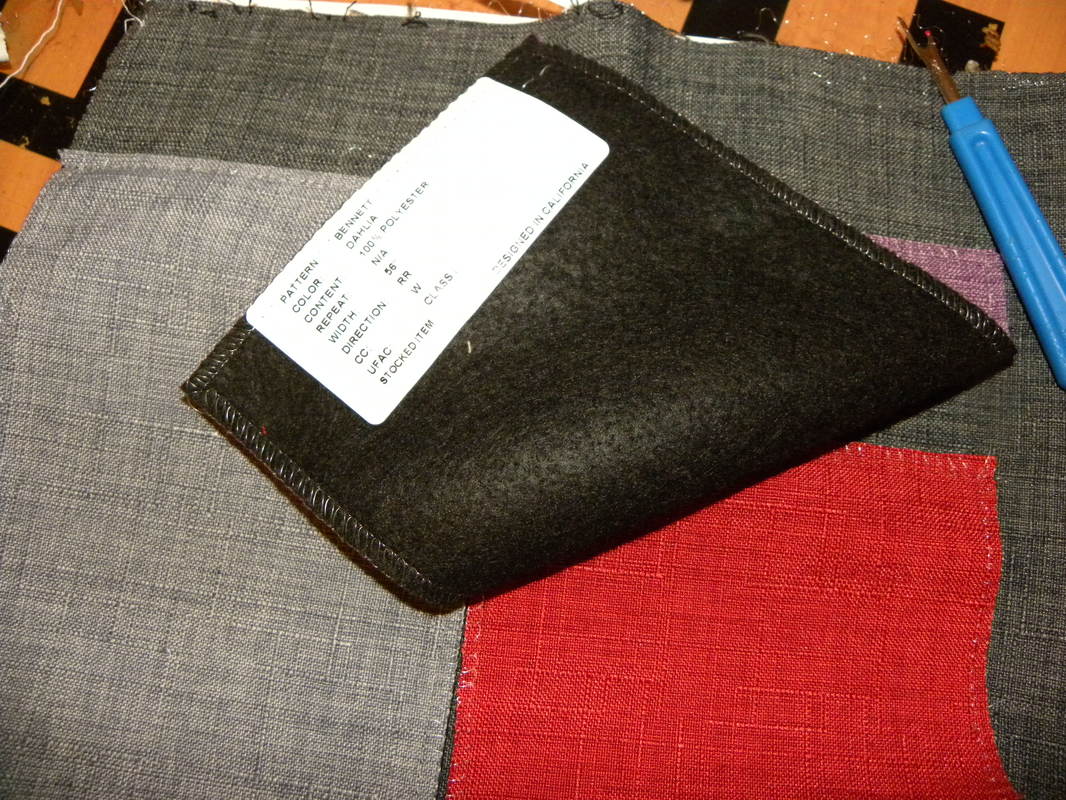
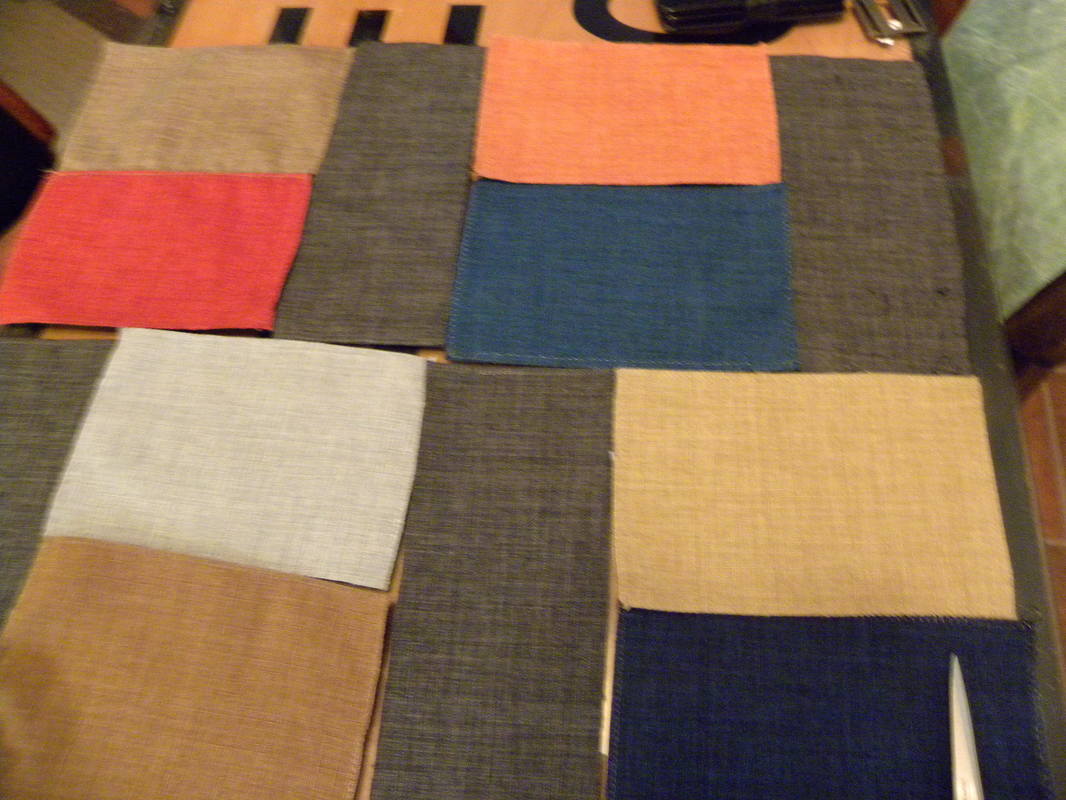
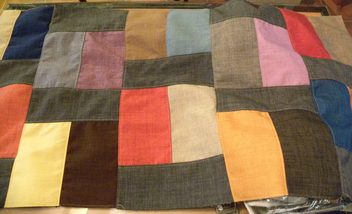
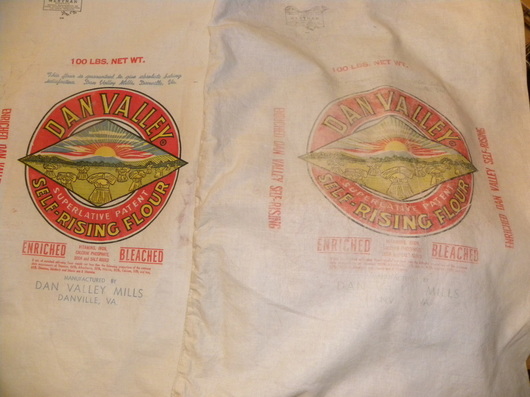
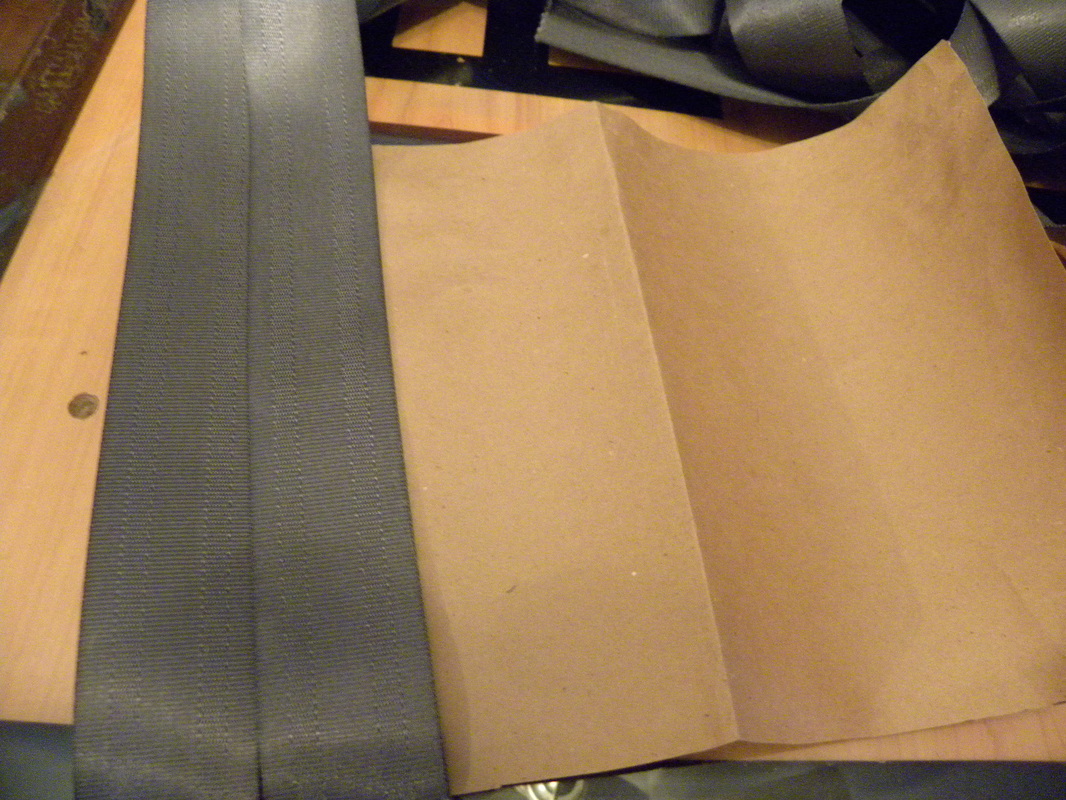
Getting everything apart took about 19 minutes. I ended up with 1 27X27 piece of grey, 26 pieces of various colors measuring 8.5 X 6, and 2 small pieces measuring 4.5 X 6. I decided to take the large piece and cut it up so I could fill in between the colors with something of a different size. The smartest way to do this would be to do some simple math and come up with a size that would give me the most pieces, but darn that impatience. I just picked a size I liked and went for it. I had a little leftover, but for eyeballing this thing it was pretty darn close. Next I started blocking out the colors. This was probably my least favorite part, because part of me wants the colors to blend and another wants color reckless abandon. I tried to lay them out without thinking too much. 
Picture
Picture
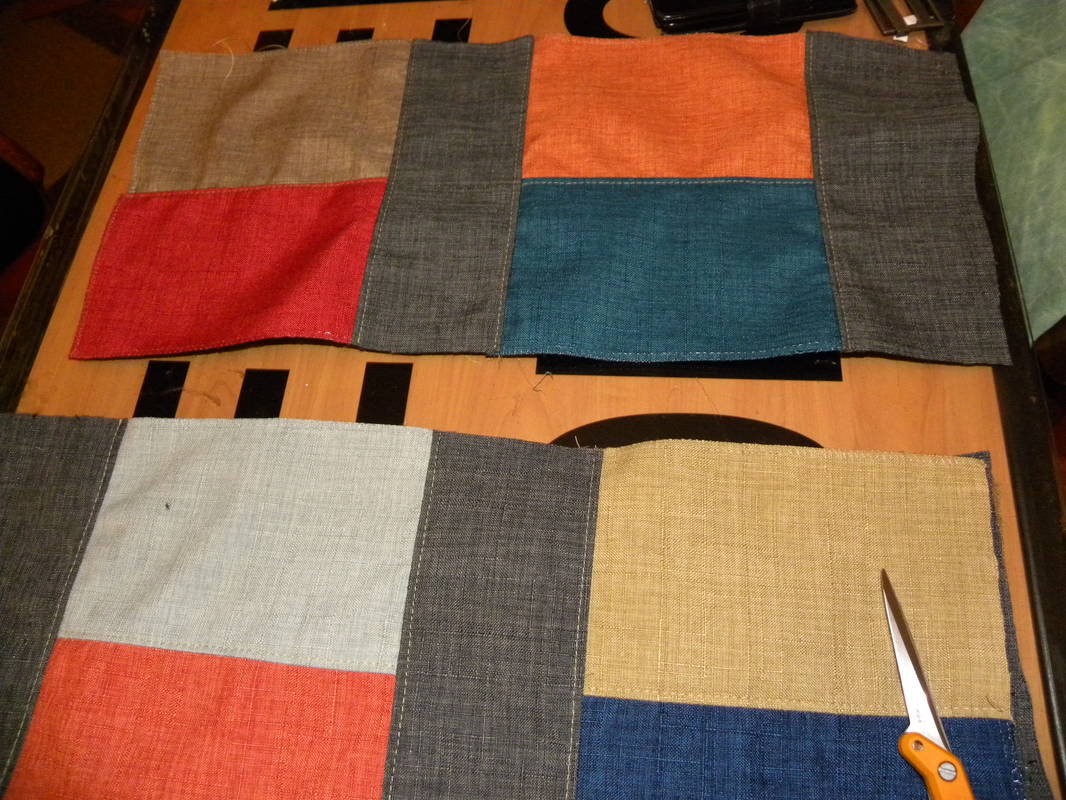
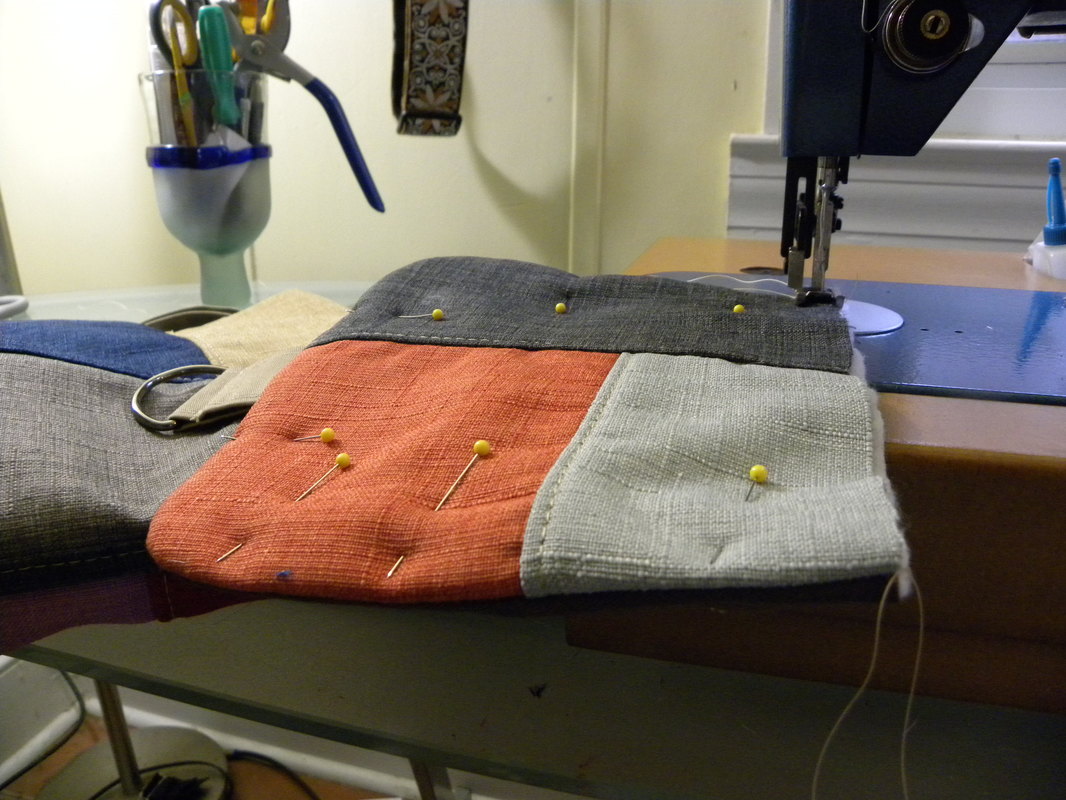
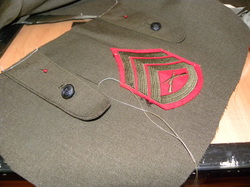
I started sewing the blocks together until they formed rows. Although those pieces look like they were all cut perfectly, don't be fooled. There was a lot of trimming going on. After forming rows I simply sewed the rows together.
Picture
Picture
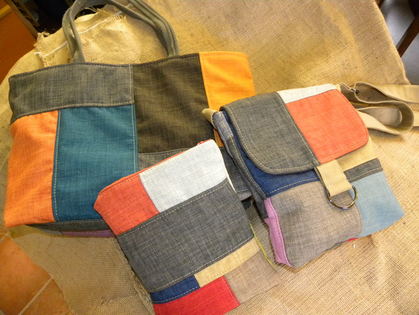
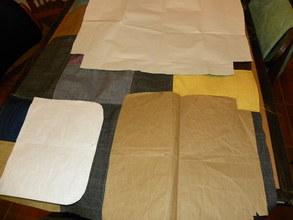
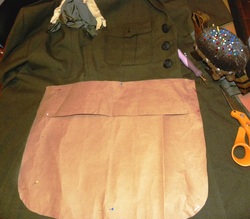
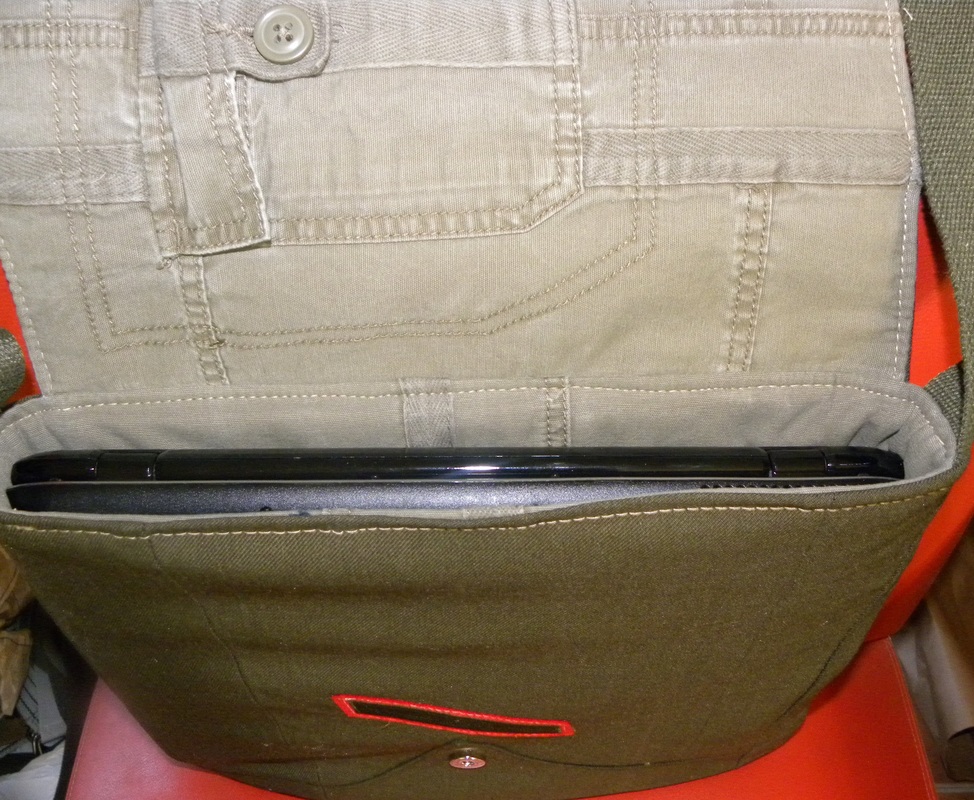
The result was a usable piece of fabric! While I was sewing these pieces together I wasn't even sure what kind of handbag I was going to make. My most popular bag style is the large messenger, but I was getting a tote bag vibe from this pattern. Once I laid out my pattern I realized I also had enough to do a mid-size messenger bag. Don't judge my ratty pattern pieces! They have a lot of miles on them. I have to recut them a few times a year but I think I can get a few more bags out of them first.
Picture
Picture
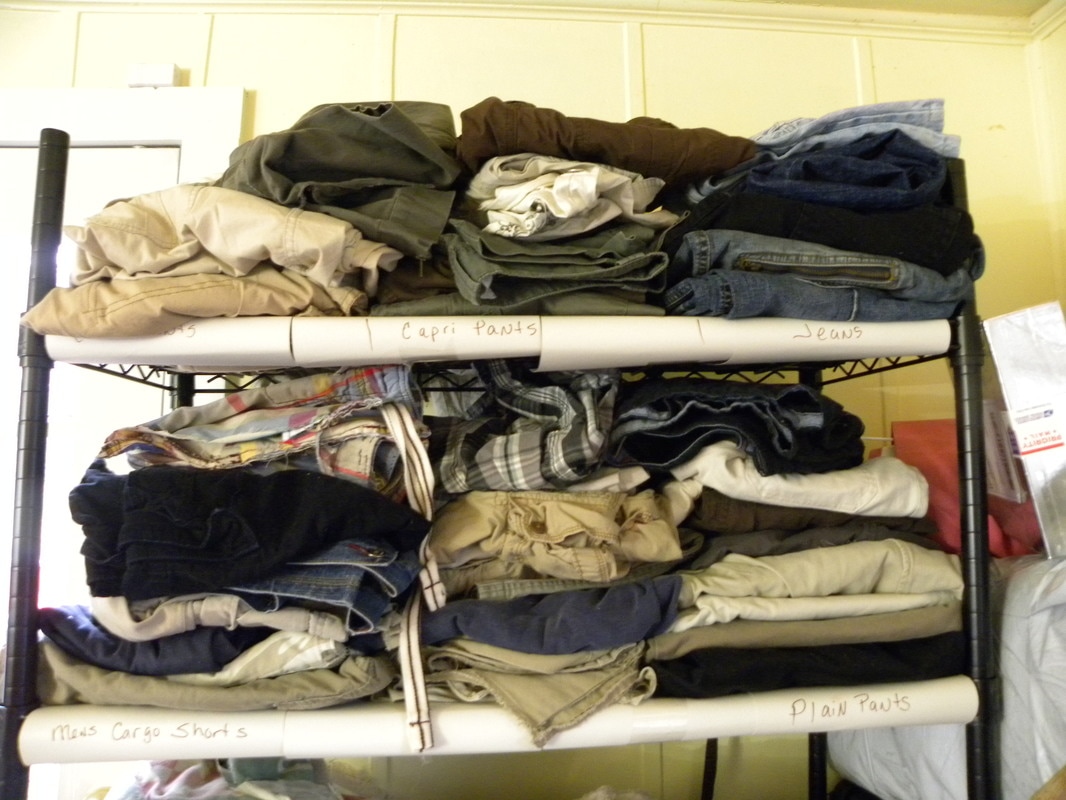
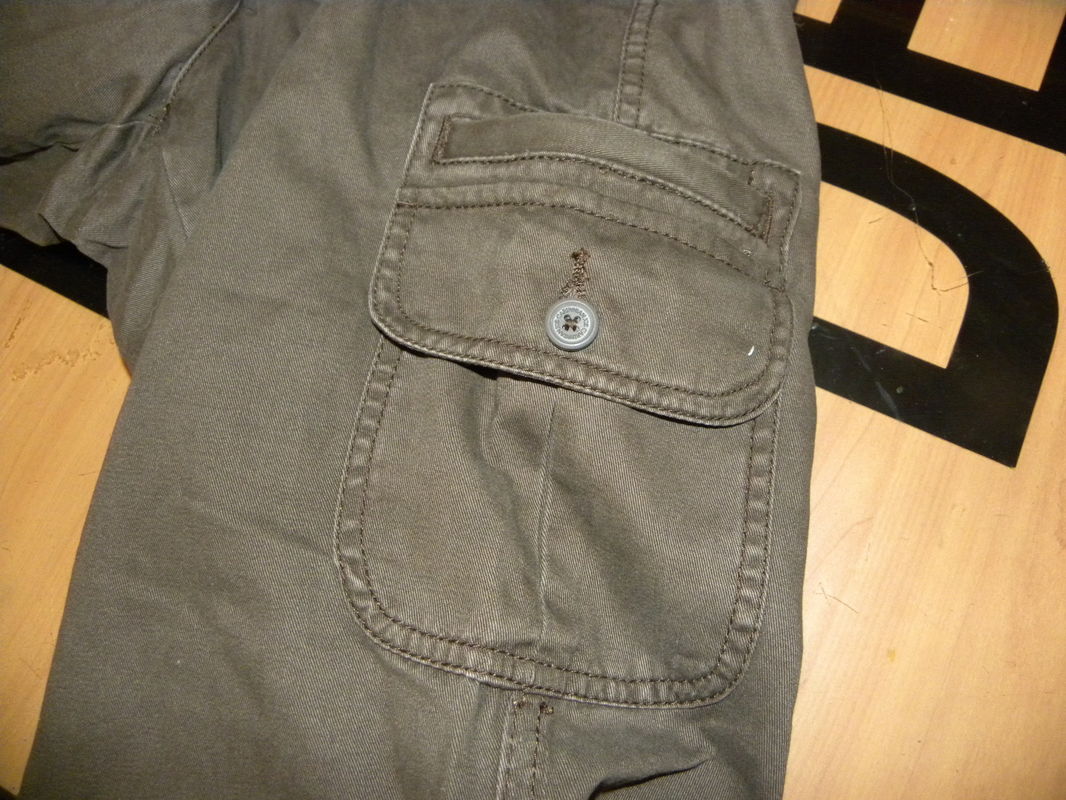
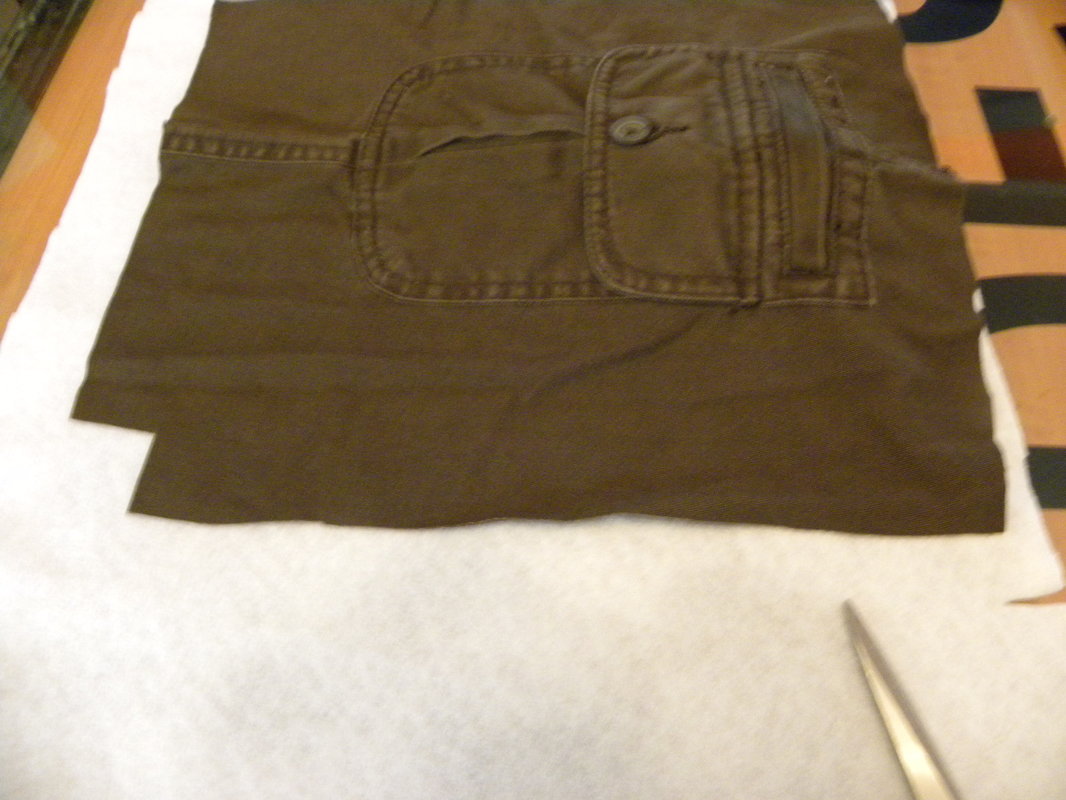
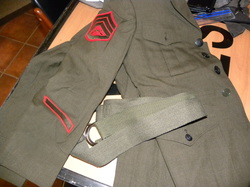
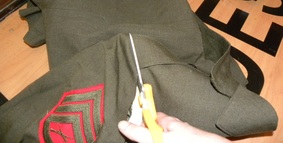
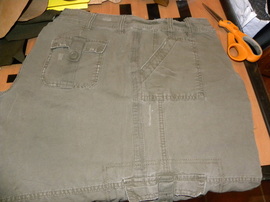
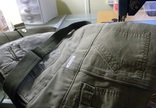
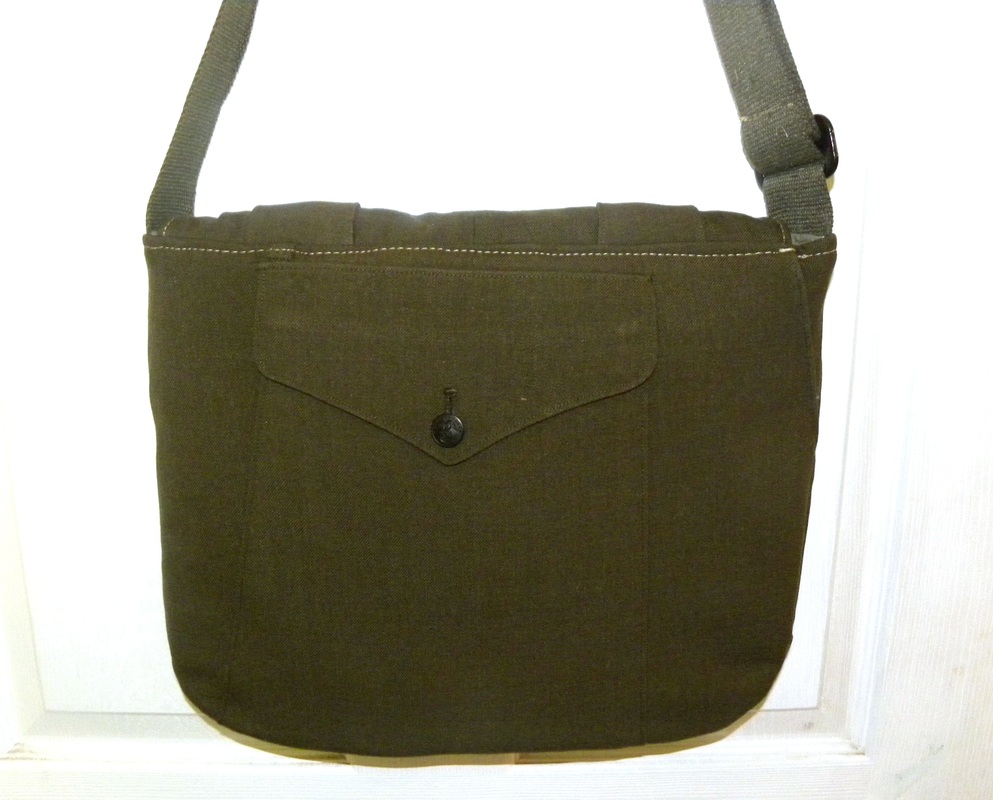
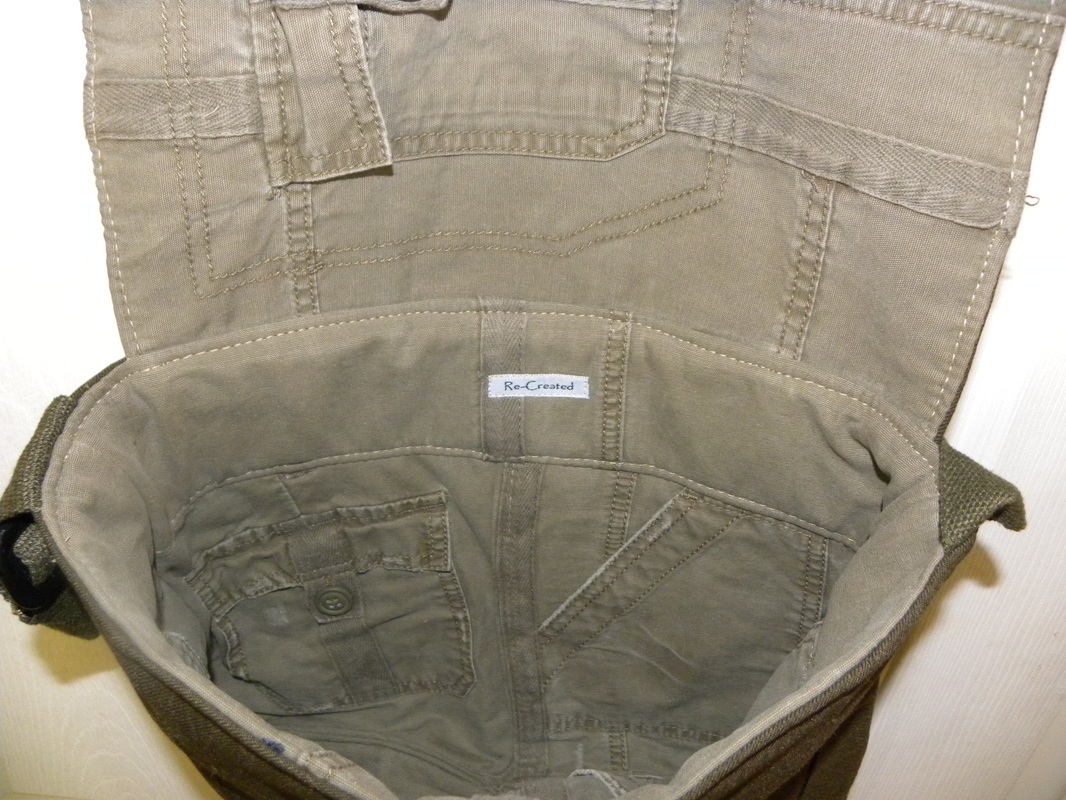
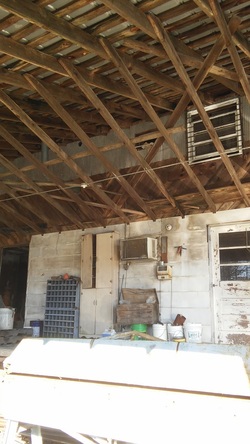
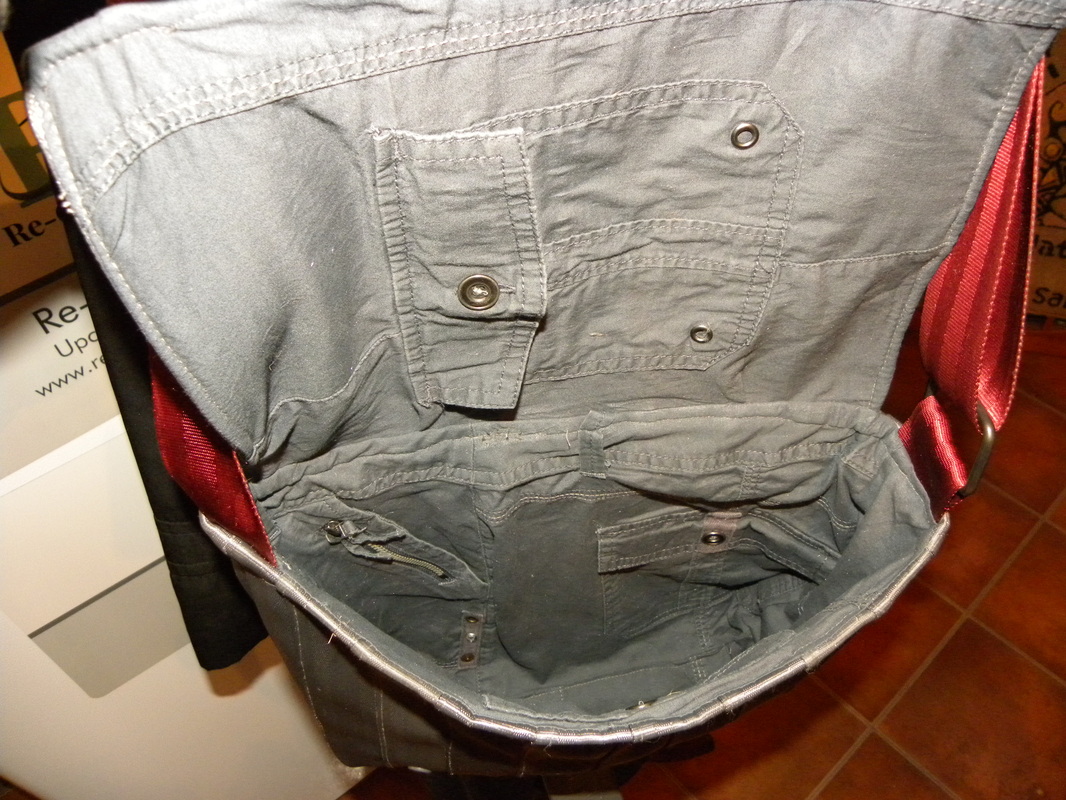
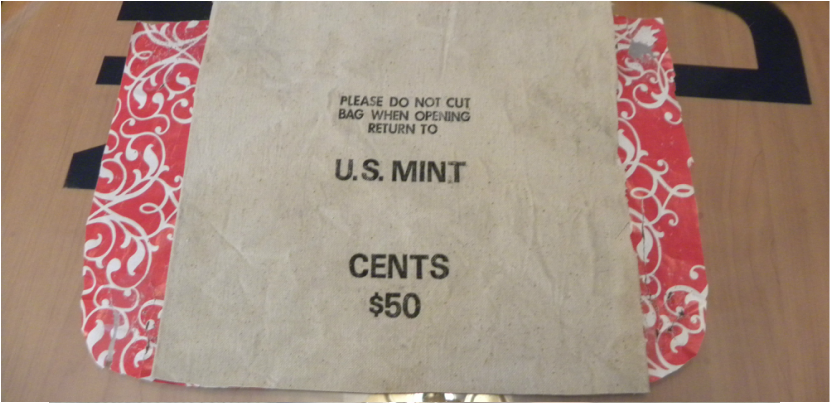
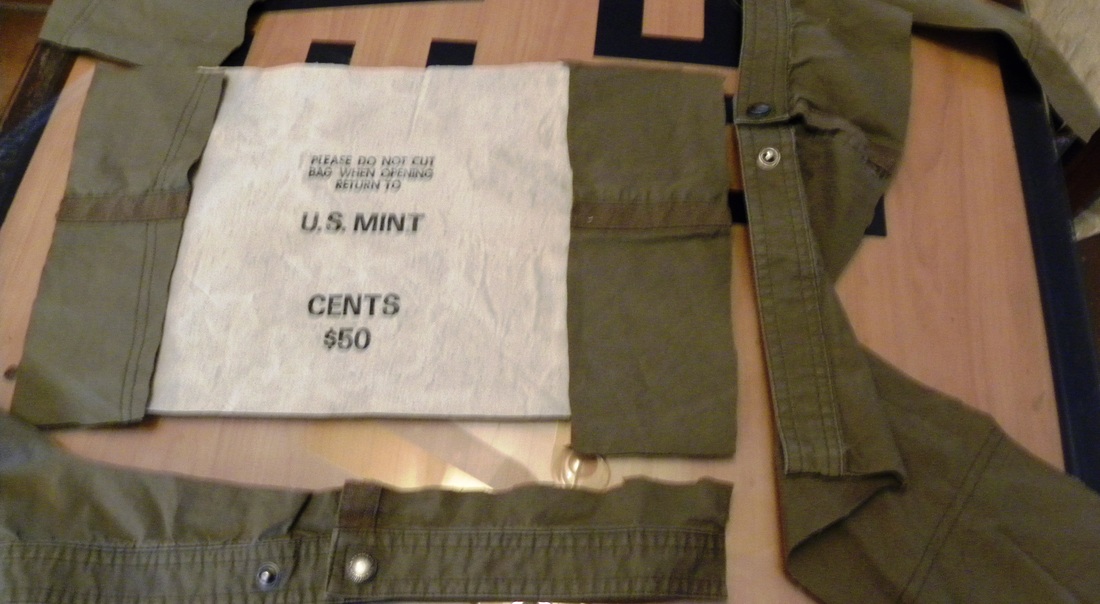
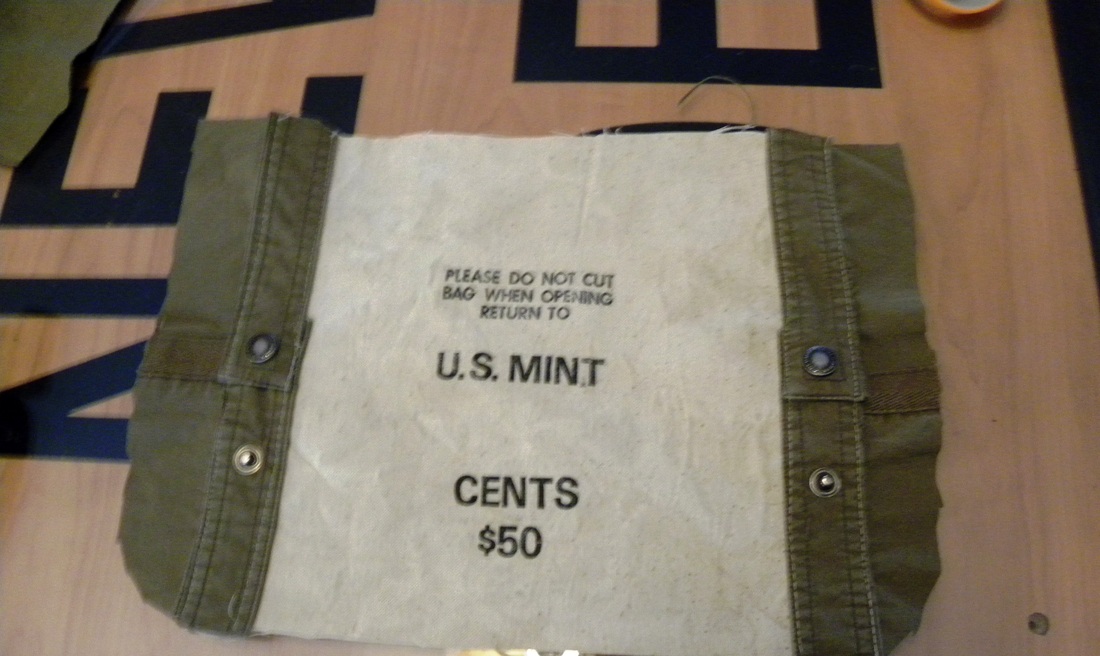
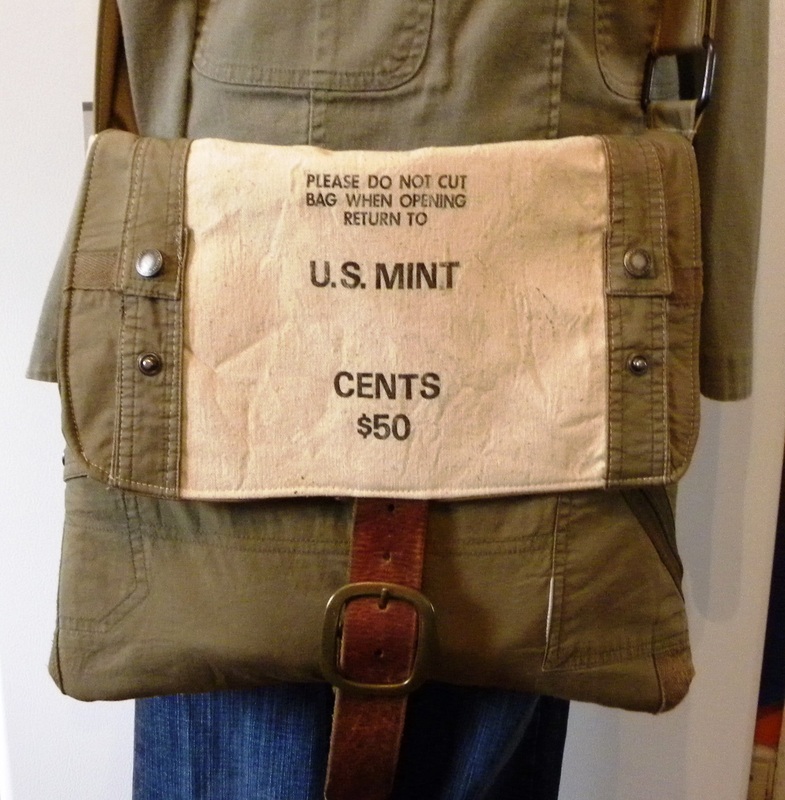
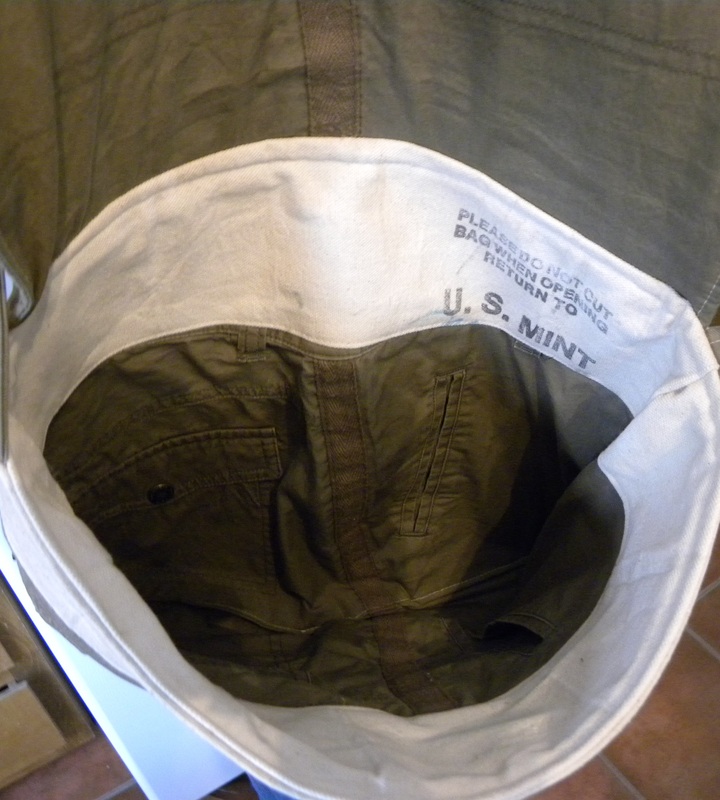
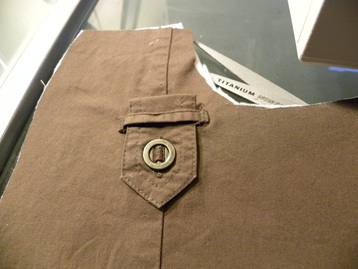
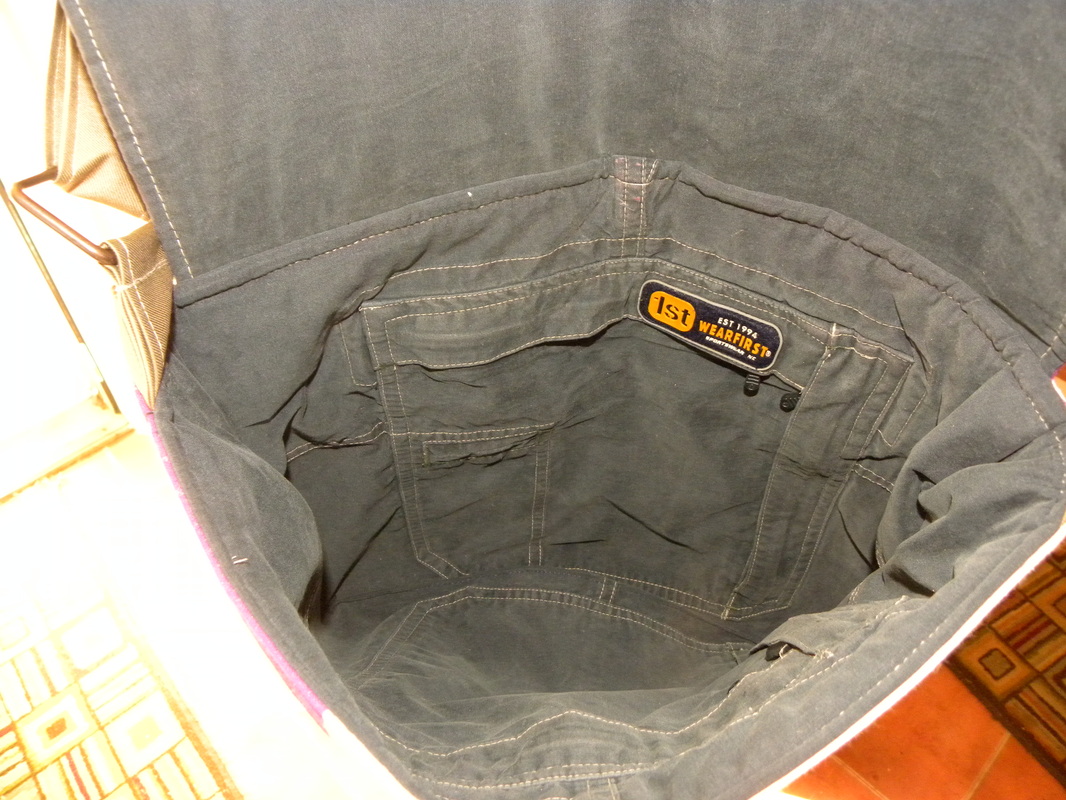
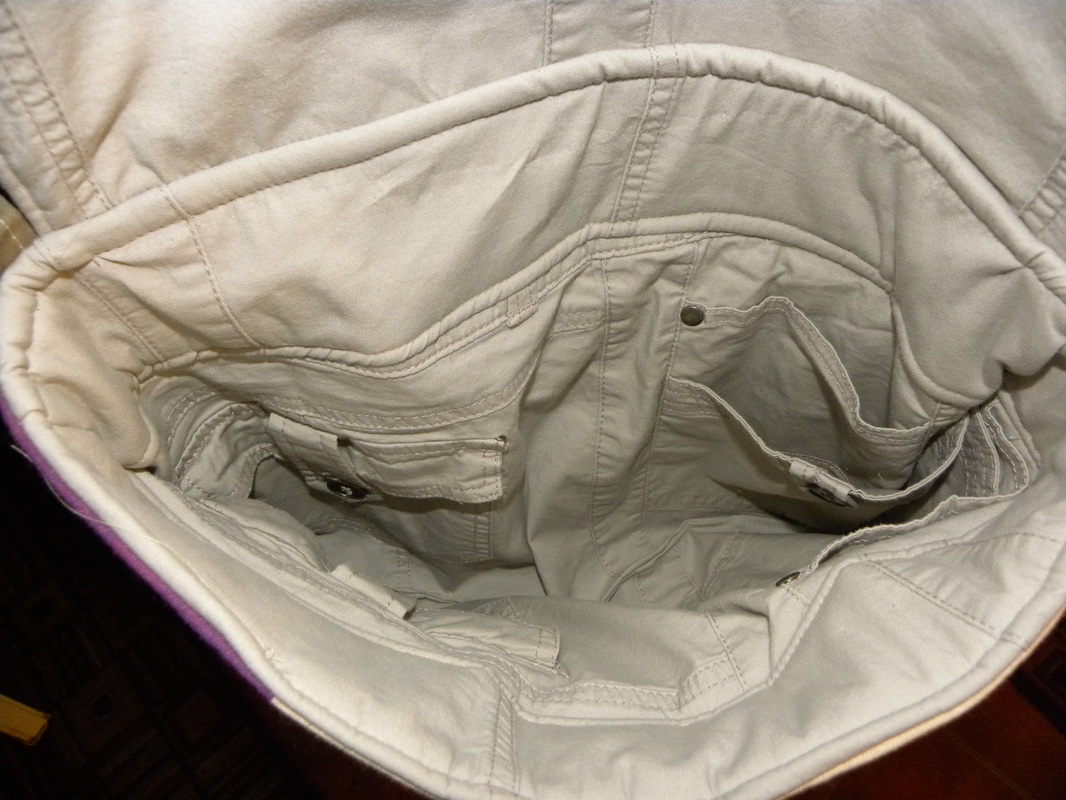
Since I like to recycle as much as I can, I tend to line my handbags with pants. It's a long story of how I got in the habit of doing that, but let's just say necessity is the mother of invention, and my closet got cleaned out one weekend. That picture of the pants shelves below actually shows the organized version (although they look sloppy). I dig through them a lot. I chose this pair of cargo shorts for the tote bag because I liked the trim around the pockets.
Picture
Picture
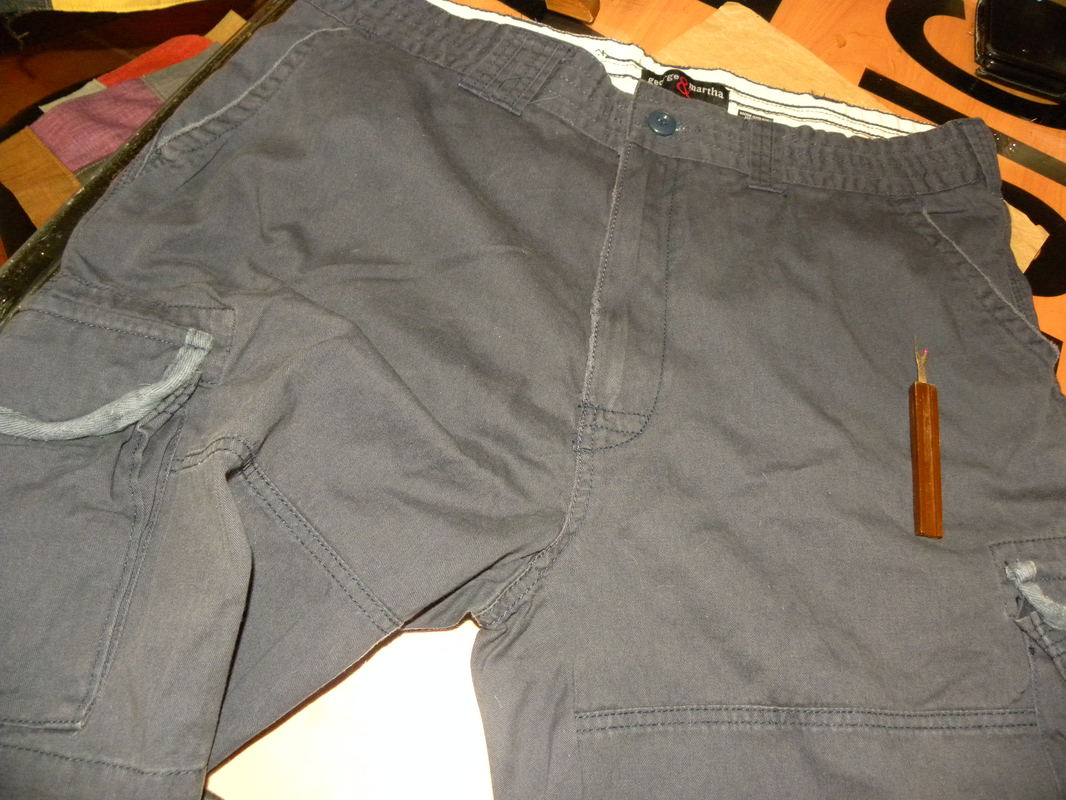
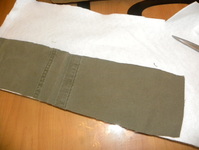
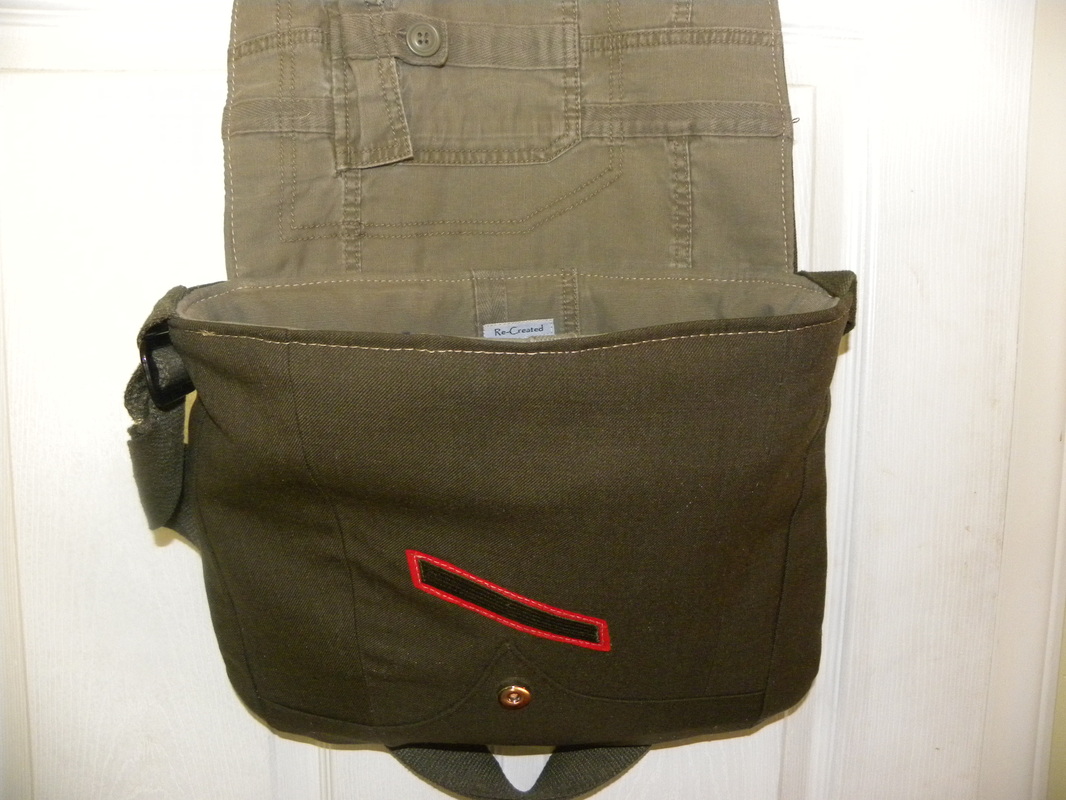
For the mid-size messenger bag I chose a pair of cargo pants because I was using the side pockets (and they have two on each side). The rest of the pants can be used for another bag (which will end up with 4 pockets from the top of the pants), so I put that to the side for another bag to be made later. Also, I used fusible fleece for all of the pant pieces for both bags. I didn't use it on the upholstery side - it was sturdy enough.
Picture
Picture
Hey you know when you are eating cereal and you think you need more milk, then you add it and then you think you need more cereal, and before you know it you've eaten half the box?? Well I was having a similar situation on this project. After cutting these two bags out I still had more upholstery sample fabric, and also left over fabric from the shorts. It was driving me crazy. I hate wasting things that cannot be replaced. I was able to use the butt pockets from the shorts and some of the upholstery fabric to make one of the new belt pocket bags I've started making, but I probably stood there staring at everything for about 10 minutes to come up with that.
Picture
Picture
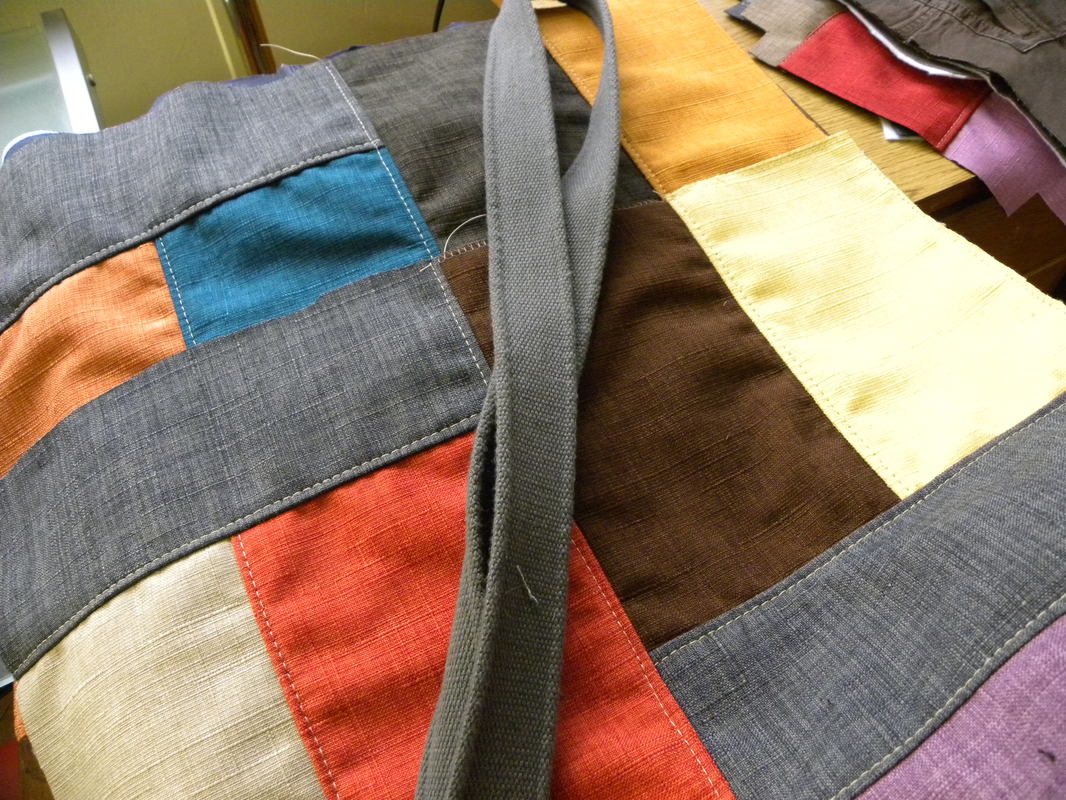
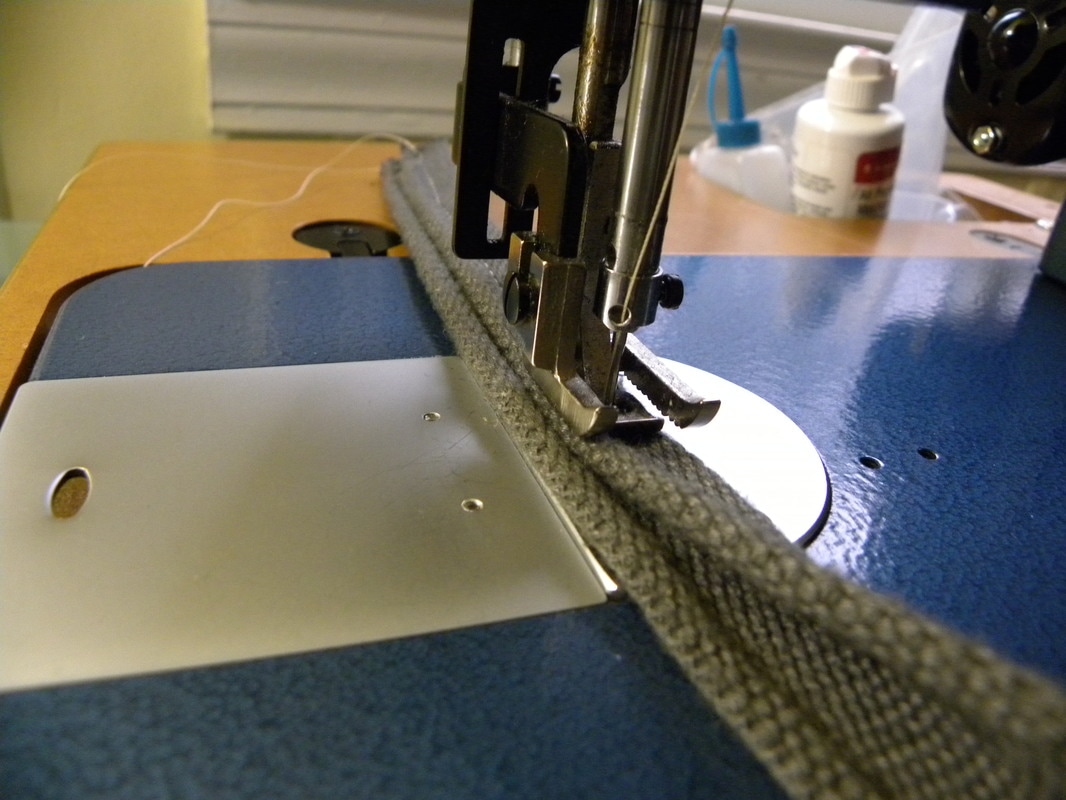
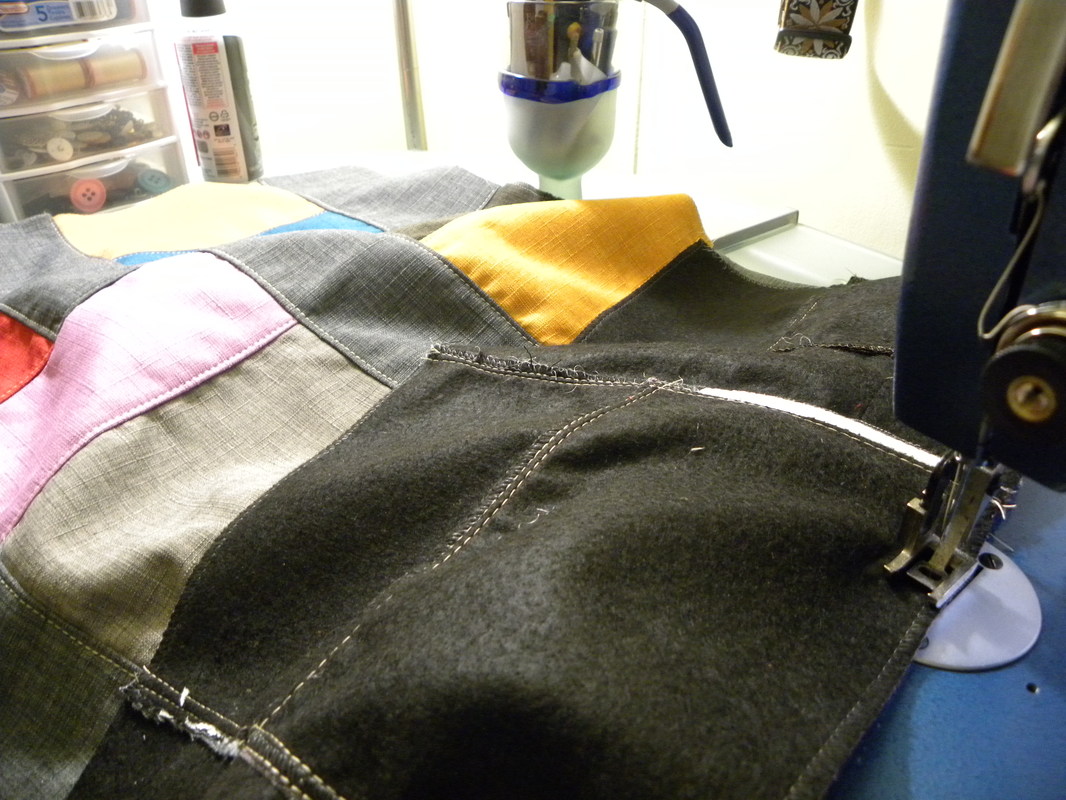
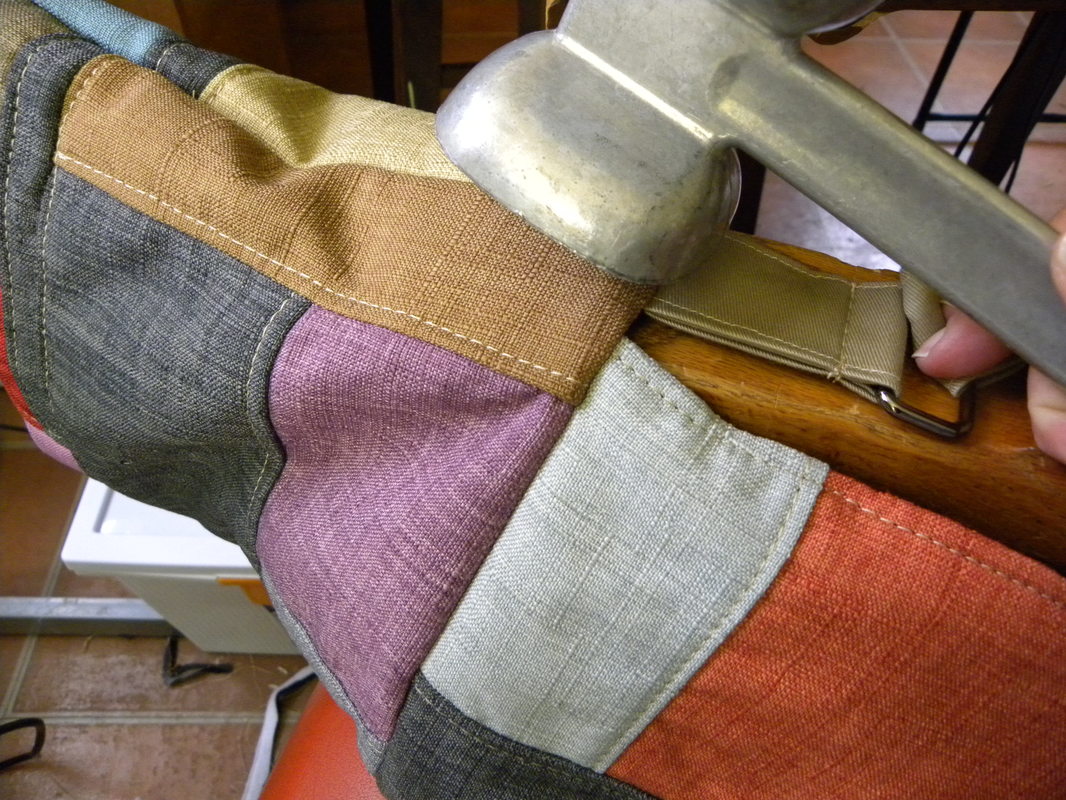
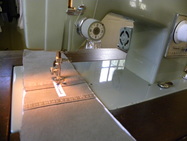
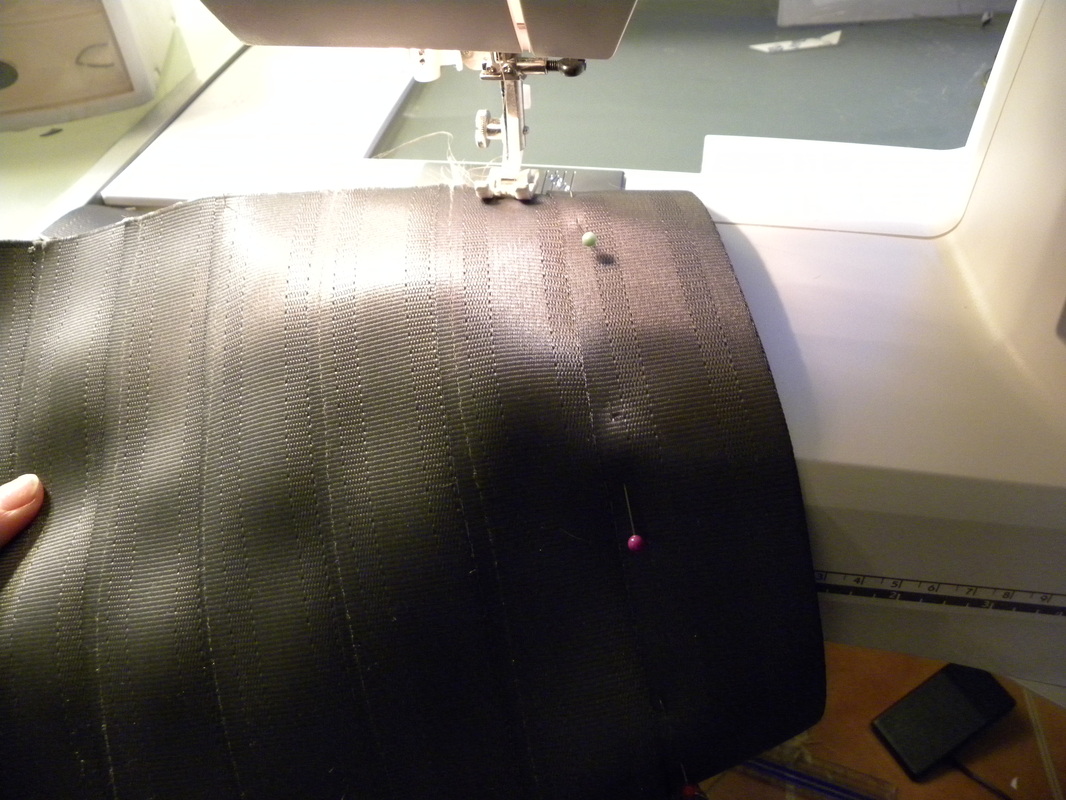
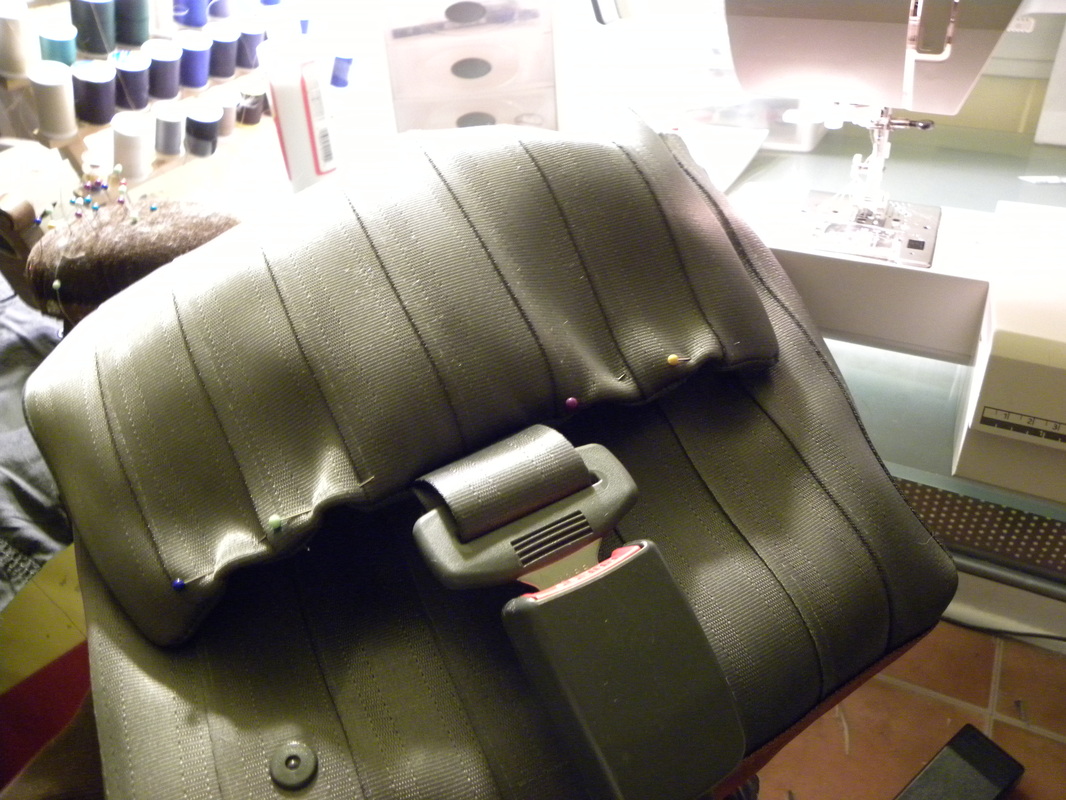
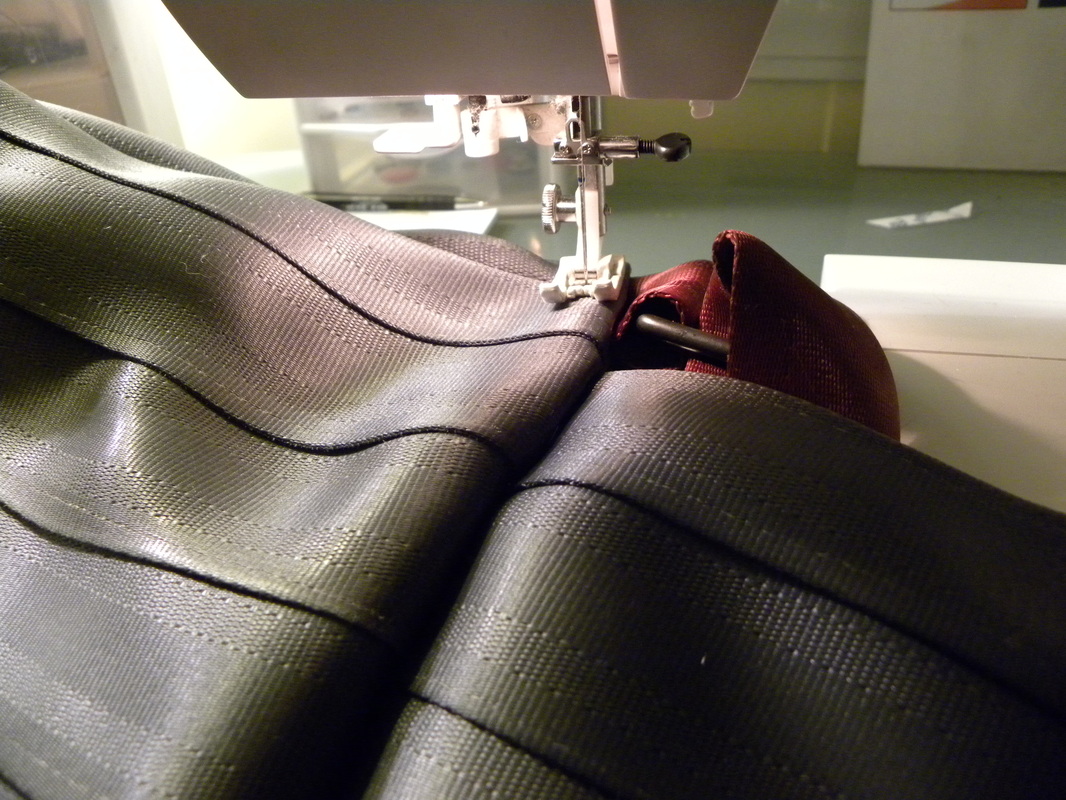
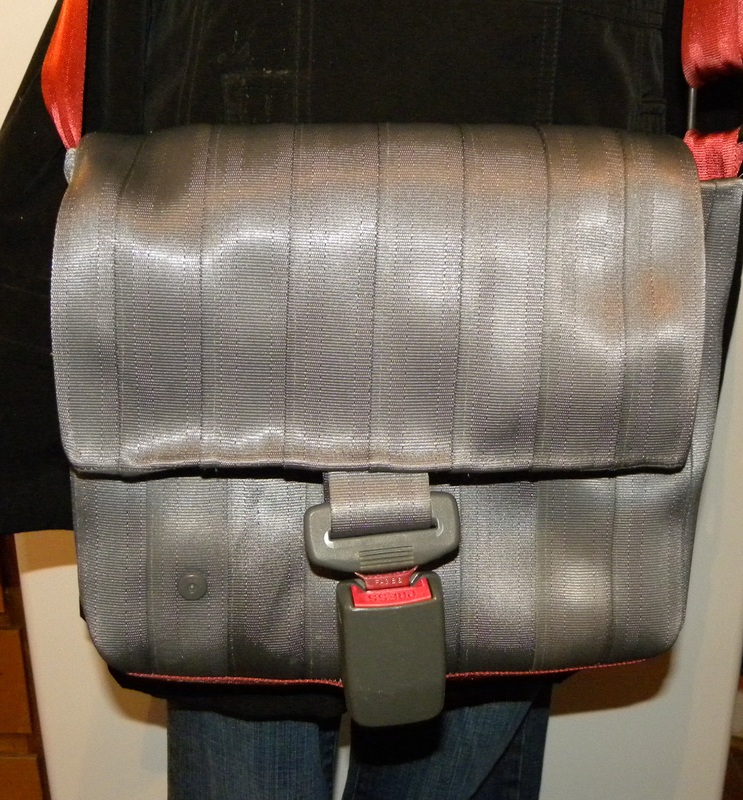
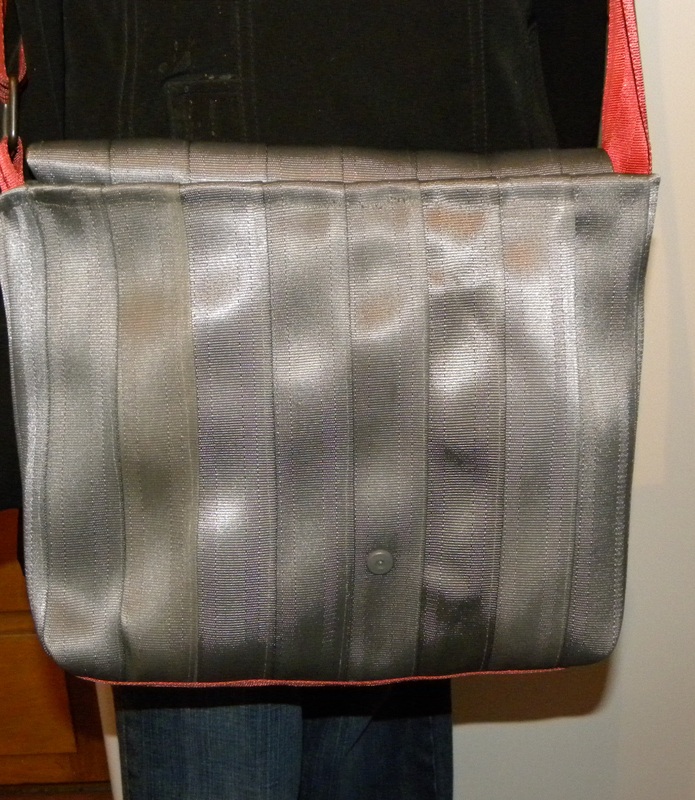
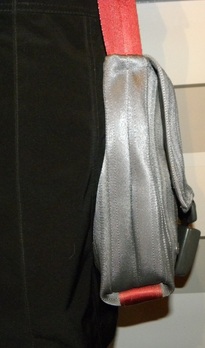
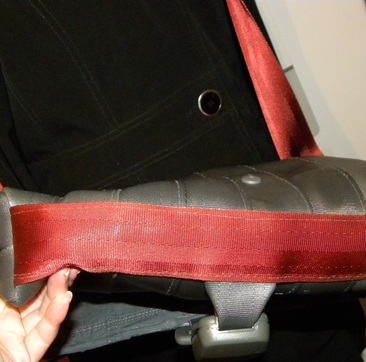
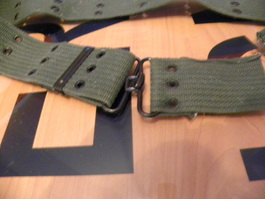
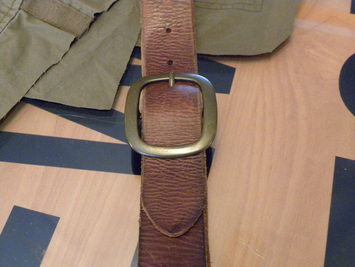
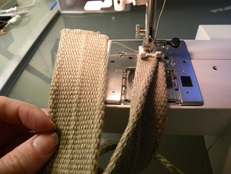
The mid-size messenger bag takes an adjustable strap that I make out of upholstery fabric, but for tote bags I use recycled men's belts. They have to be pretty big to start with so that I can cut them in half to get too handles that are long enough that someone can fit their bended elbow through to get the bag on their shoulder (women reading this know exactly what I'm talking about). I grabbed a grey belt, cut it in half cross-wise and then sewed both halves in half (say that over and over fast!) to get my handles. Here's some pictures of the sewing process for the messenger bag below. Notice my "special" tool that helps flatten out the bulky areas before I topstitch. I sew more than I cook, so I really haven't missed having the meat tenderizer in the kitchen!
Picture
Picture
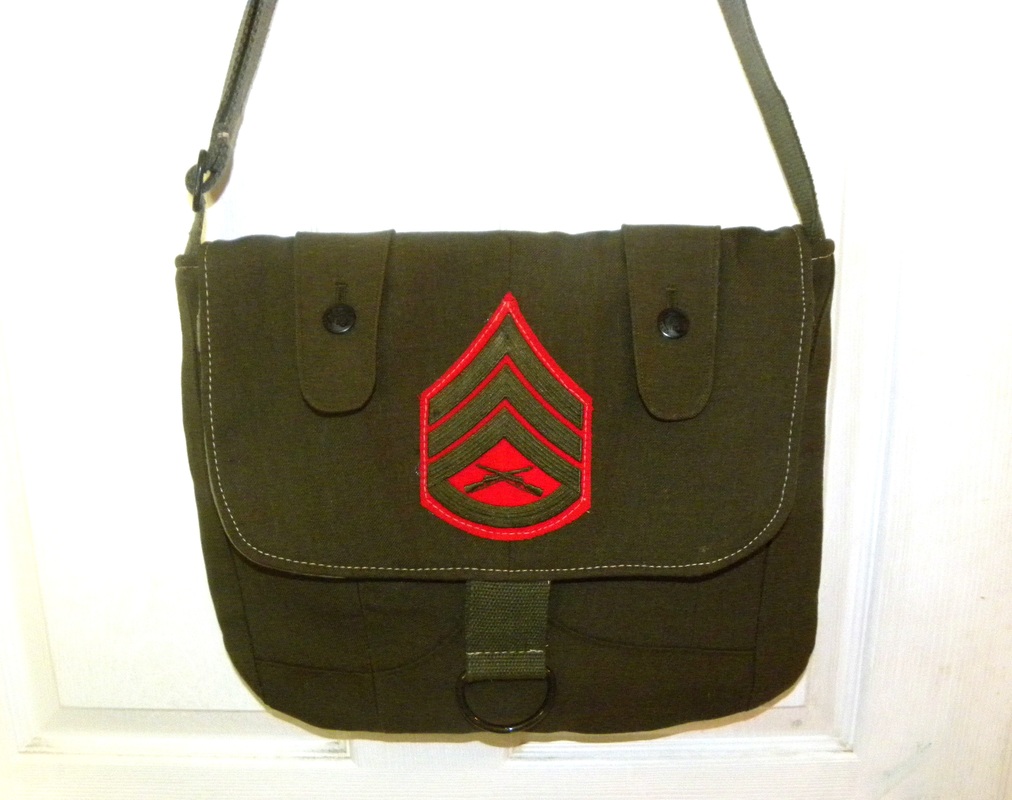
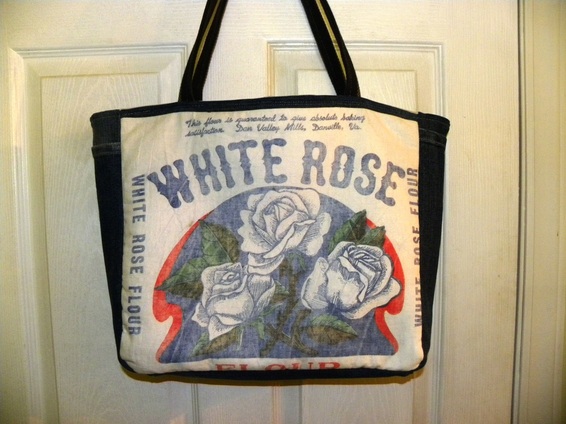
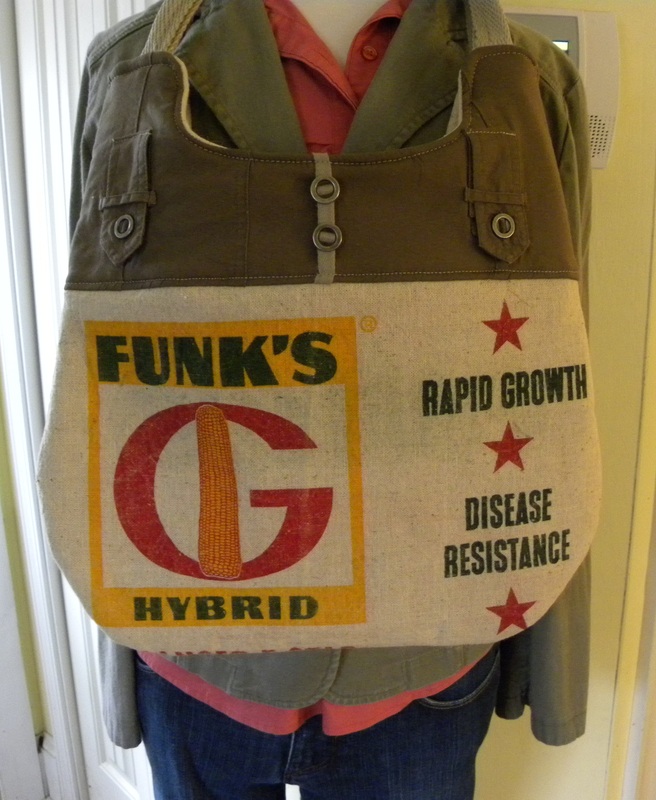
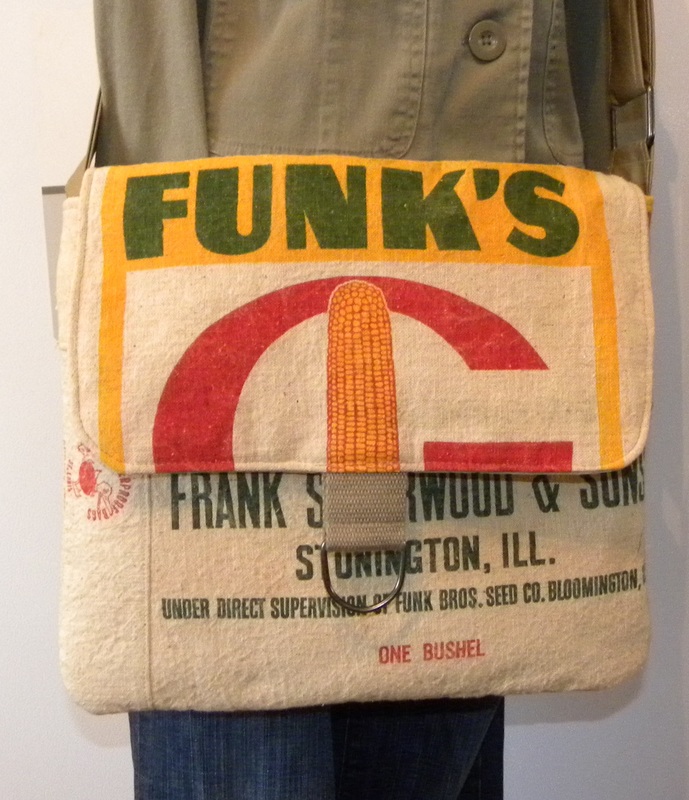
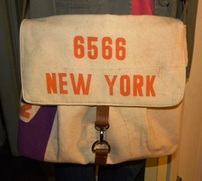
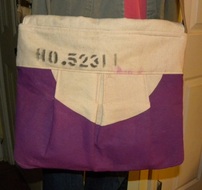
Check out the finished tote bag here:
https://www.etsy.com/listing/507015637/reclaimed-upholstery-sample-and-shorts?ref=shop_home_active_3

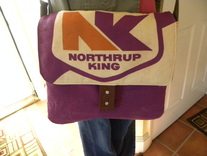
Check out the finished messenger bag here:
https://www.etsy.com/listing/507016631/reclaimed-upholstery-sample-mid-size?ref=listing-shop-header-2

Check out the finished belt pocket here:
https://www.etsy.com/listing/507017189/belt-pocket-reclaimed-from-upholstery?ref=listing-shop-header-2

2 Comments

Bad A$$ USMC Marines Jacket reclaimed!

9/17/2016

3 Comments

 
I love it when I find an item and feel totally inspired! I ran across a USMC jacket that I knew would look great as a messenger bag. And JUST MY LUCK I found two belts of a matching color on the same trip. I needed those for my adjustable strap! So here is what I started with:

Picture

Cool right?! I thought so too. And let me just go ahead and give major credit to whomever chose the fabric and/or did the sewing. Wow. It was tough to cut up. I mean, teeth-clenching, hand-cramping scissors time. I may need to relax with some wine after this project.


Picture
My goal was to use the main patch as a focal point on a flap and use one of the outside pockets on the outside of the back of the bag. Cutting out was a bit frustrating, as this was not intended to be a messenger bag originally :)
As I was cutting the sleeve off I realized it would be cool to cut off the shoulder flap thingies and use those somewhere too.

Picture


The front bottom pocket is HUGE, and it flares out at the bottom - which I hadn't encountered before. Normally I would cut out a band and a bag base but for this one I had to do it all in one piece to fit the pocket.


Picture
I was not able to use the sleeve piece with the patch so I cut out my flap piece from the upper back of the jacket and put the patch on it instead. And look at that! I figured out what to do with the jacket strap thingies. A word about this - I HATE to hand sew anything. I am so spoiled by my beloved sewing machine. I had to sew those buttons on. Have mercy. I have given up on projects completely in the past that required a simple button sewing, so trust me this is a big deal :)

Picture
 
No bag of mine would be complete without the use of cargo pants for the lining. Its such a great way to upcycle. It looks fantastic and gives you lots of pockets and no new material has to be used. Yay recycling!!

Picture

One thing I do with all of my bags is I back each piece with fusible fleece. This gives the bag tremendous structure and strength. I go through about 15-20 yards of fleece a month, but the result is well worth it. Once everything is ironed and fleece is adhered, we are ready to sew!

Picture
People frequently ask about my machine. Without it I could not sew what I do. I killed three machines before I found out about Sailrite, so if you are looking to do any heavy (super heavy) sewing you should check them out. www.sailrite.com I have the Ultrafeed LSZ-1. You are not seeing double in my picture! I have two of them. My friend Monica helps me in the sweatshop and I need all of the stitch work to be the same.

Picture


I have to sew through a lot of layers when I'm adding the flap. This doesn't even include sewing the liner on! That comes later.

Picture

I inherited my Mom's green 1970's Sears Kennmore sewing machine and its fantastic for lighter weight sewing (like sewing on my Re-Created tags).

Picture

OOH I am at one of my favorite parts here. I have sewn the bag, attached the liner, closed the liner, and I'm about to tuck it all together and top stitch it. Almost done!


Picture

This is a Very important finishing tool! Ok, so its a meat tenderizer. But when you need something and you don't have the right tool you get creative, right? This, in combination with the wooden arm on my 1970's chair, is perfect for hammering out extra thick seams before topstitching.


Before I show you the finished product, I'd like to say that its my intention to continue to make these (based on the availability of materials). When I thought about this project, I thought it would be a great idea to give a portion of the funds to a military cause. Since I'm very small scale with this at the moment, I'm going to donate to 50% of any USMC bag sales to my brother-in-law, who served as a Marine, to honor him for his service. He would never allow me to do this (he has no idea what I'm up to!) so I will have to be creative and sneaky to get the money to him.  Maybe it can mysteriously show up in his laundry? Any suggestions let me know! I'll have to be stealthy though, he does have that Marine training. :)
Picture
Picture
Picture
Picture
Picture
3 Comments

Antique flour sacks (gettin' dirty at an old mill!)

1/2/2016

3 Comments

 
I haven't blogged in awhile! I've been too busy trying to keep up with the sewing and inventory. But today I had an opportunity to go to an old mill and snatch up some antique flour sacks that haven't seen the light of day since the 60's! It was quite a dusty adventure. Where are those American Pickers when you need them??

Picture
 See that little window up there? Oh yeah... that's where I was. I suspect that window is how the raccoons get in. Lucky for me, I didn't have to go through the window, and no racoons were there today. I only saw, um, "evidence" of them.
This building is part of an old Mill owned by some super awesome folks in Hurdle Mills, North Carolina. Ms. Harriet saw me at a craft show with some of my bags and it triggered her memory about having a lot of old feed sacks and flour sacks stored. She and her husband were nice enough to let me get dirty in the mill and see what they had!


Picture

The only way to get up there (for humans) is by using a ladder. I wouldn't have minded the ladder being a little taller (like 3 more feet) but Mr. Mick climbed up first and helped me.
We realized shortly after climbing up that dust masks would have been a great idea (note to self for future trip). It was DIRTY. I really don't know how pickers do this sort of thing without a full-blown hazmat suit.. But with our goal in mind, we started working through a very large pile of bags. There would be 50 or more bags folded within a single bag, so there were lots of "bundles" of them. 


Picture
What you saw on the outside looked pretty bad, but the bags on the inside were in very good condition. Some were practically flawless.

Picture


See those beauties on the top? With these bags being from the 60's era, that is something to behold. This picture was taken while we were sorting through them. We found bags that Mick and Harriet didn't even know they had. We made a stack by the ladder opening, then we sort of relayed them to each other to get them down. Its hard for me to believe that I didn't even leave with half of what was there, and it still filled the back of my car!


Picture
So that's it! You just take them home and start making handbags out of them, right? OH I WISH!! Unfortunately, back in those times they made bags with ink that could be removed easily, so that women could then reuse the fabric to make clothing and other items. You have to set the ink. The only method I have found that works is washing them. This is a total gamble. You never know which bags will retain enough ink to remain lovely or loose so much ink they become a sad, blank memory of their former self.
Picture
Step one: Turn some bags inside out and wash them on delicate. And Pray. I have a front loader washer and it is hard not to keeping staring in there, mentally forcing the bags to keep enough ink to look decent... While that is going on - SHOWER! Scalding hot extra soap kinda shower.

And take Claritin (ah-choo!!). Did I mention how dirty that trip was??


Step two: Turn the bags right side out (VERY IMPORTANT), and line dry. If you keep the bags inside out some craziness occurs where the bag continues to bleed on itself. It is not good. Today it was 43 degrees outside, so line drying was not going to work. I had sacks draped over every usable surface to dry. After a few hours they were good to go. I usually pop them in the dryer for a few minutes once they are about 95% dry, and this works fine.
Step three: Iron... and I mean, Immediately. They will be wrinkled, and the sooner you jump on it the better. They actually feel a little "cruchy" and ironing takes care of that also. Remember how I said it was a crap shoot whether or not they would look nice coming out of the wash? Here is a great example. Both of these were washed the exact same way, but one is clearly more defined than the other.
Picture
Certainly the bolder one is ideal, BUT I can work with the faded one also. When you choose the right accent fabrics you can work with most things. Vintage bags are often faded before they hit the wash, so I'm already used to that challenge. Not all of the bags will be turned into handbags though. I'm helping Harriet and Mick sell off some bags on Ebay. Those that we are selling are not being washed first so they are in their original state. Go check them out - my seller name is loriesz
Here are the different styles that we found today:
Picture
Picture
Picture
Picture
Picture
Picture
Gorgeous, right?? That White Rose bag is very pretty. It is also one that looks nice when it has been washed and is faded. Here is one that I made for Harriett previously. She wanted a tote bag style for a friend and I used some recycled jeans with it.
Picture
Check back to see how the handbags shape up! If you haven't liked my Facebook page be sure to do so. Whenever I list a new bag I always post there as well. And if you get any leads on vintage bags please let me know!
3 Comments

The importance of feedback!

6/23/2015

2 Comments

 
Ok, I haven't blogged in awhile (hand slap!) But I've gotten some good feedback on my bags this year and I thought that would be great to blog about! (no, this isn't me trying to brag on myself)  I don't know if you realize it, but all my bag styles are made with Frankenstein-type patterns that I created based on customer feedback. My most popular cross body style actually started as a tote bag until a friend suggested I give it a flap and adjustable strap! So without you, I would not have the success that I've been so fortunate to have. I'm hoping I can get some of you to weigh in and tell me what you liked about your bag and what you might like to see in another bag in the future.  If you have bought a bag and would like to give me some feedback - please do! You can reply with a comment to the blog below. I'm going to start this off with Etsy feedback that I've received. As you can see, I've got some great folks who love their bags (and I appreciate it). But see that feedback about the IPad? Well that was very helpful to me. I don't own an IPad. I created that pocket because I liked it that way. The more I know about uses, the better. I need to continue what works and add things  or new styles where needed.
Ramy Seed Co. Seed sack Maximum Performance upcycled handbag I love the bag! Great upcycled item. Also, the seller is very nice and helpful.

  Vintage Macon Seed Corn sack upcycled Absolutely what I was shopping for. This handbag is perfectly sewn and wonderfully vintage. Highly recommend.                                                               

Frances Style Floral Fabric remnant cross-body handbag Lorie did an absolutely amazing job creating this one-of-a-kind custom bag for me. She was very willing to humor me and my particularities :) and had this gorgeous creation done and delivered to me in less than a week. It is sturdy and skillfully made and I know it will last. Very highly recommended! Thank you again Lorie!


Vintage Dekald corn seed sack upcycled It is awesome! And she did a great job. Thanks!


Frances Style Stripe and Demin Fabric remnant cross-body handbag This bag is perfect! For once I found someone who makes pockets large enough for iPads that can stay in the case! Great thought went into design and meticulous craftsmanship. It's exactly as pictured and I'm so happy with it. I would definitely buy from seller again and would recommend in a heartbeat. I'd even suggest that seller to advertise the deep large pockets fit iPads because those, like me, who carry it around occasionally makes it very convenient.


Vintage Siler City Mills, Chatham feed sack upcycled Wonderfully constructed "funky" upcycled bag that I am so happy to have. These bags are fun and so sturdy. Soo well made! I'm so happy!


Upcycled coffee shipping bag Big Bean cross body handbag I am thrilled with my bag. It was a custom order and just perfect. The workmanship is wonderful. The material, both inside and outside, is exactly what I wanted and looks wonderful together. The artist took my order and made the bag in a flash and had it to me with lightning speed. And the bag is top notch quality. I am very happy. Thank you so much!


Upcycled coffee shipping bag cross body handbag Exports Super fast shipping and unique, fun bag! I get compliments regularly, purchased another one, will return for more as gifts :)


Vintage alfalfa seed sack upcycled small crossbody Perfect workmanship and oh so cute! Love my little purse :) now got my eye out for the bigger crossbody but with dark bottom for less stains. Love lories products and continously look for new items :)


Vintage Misprint Midwest seed sack upcycled Love this girls products! I now have a small and a large...and will be watching for more unique bags :) and she even sent me a large change purse as an extra I will certainly use!!!


Upcycled coffee shipping bag cross body handbag Super Bean! I love this bag!! You do amazing work and super fast shipping!! :) Thank you so much!


2 Comments

Taking the 80's out of my display racks

4/3/2015

1 Comment

 
Don't get me wrong, I LOVED the 80's. I mean, look at me! I was rockin'! (I'm in the middle)
Picture
But you know, I was looking at my fixtures that I use to hang my handbags for events, and they were looking...soooooo chrome-y. All I could think of was working retail back in the 80's. I make a lot of burlap and vintage stuff. The chrome seemed a little bright. It was also bugging me that the rack was essentially "bottomless".  Seemed like a waste not to be able to display some bags on the bottom.
Picture
SO I found myself at Lowe's, buying spray paint, wood and sandpaper. I was ready to get started! Unfortunately I had this shopping spree in February, where we proceeded to have a blizzard... So FINALLY, after much ado, I had my two racks outside and ready to be Re-created. First came the spray paint (I chose "gunmetal"). Now I can hear my Dad in my head scolding me that as soon as I hang bags on it it will get all scratched up. Yep. I'm ok with it. So if you were worried - Don't. I'd rather it look like it has some age then look like it rolled out of the 80's.
Picture
AH... better already. I had my son cut out some notches in my wood bases so they would slide over those side bars. We did not have the appropriate tools for this project (I knew this going in) so I was prepared to add some accents to cover any funky cuts we might end up with. Here's the before and after on the stained wood:
Picture
And, after applying some zippy vinyl - finished product. Now I can display handbags on the base as well as hang them on the rack.

Picture
Just in time for the Durham Craft Market tomorrow and the Hillsborough Spring Craft show on the 11th! :)
1 Comment

Lemons to Lemonade

3/1/2015

5 Comments

 
This has been a trying week. The kind of week that makes you shake your fists up to the sky. I will spare you the details, but I will say that the week was wrapped up with my son's car completely giving up the ghost. When I bought the Santa Fe on January 1, 2004 it was my goal to drive it for ten years until it was time for my son to drive and give it to him (mission accomplished!). Unfortunately, 11 years and 250,000+ miles later, it could go no further.
I had to find something positive in this week (seriously) so before the junkman came to pick up the car I decided I would find something salvageable to make a handbag, auction it off, and give any proceeds to my son.  We do not do car payments in this house (nod to Dave Ramsey) so my son has a bit of a road ahead to get to the next beater car. Its tough getting a job when you don't have transportation. 
I wanted to show you some of the journey. If you also want to bid on the bag the link will be at the end.  This really isn't about the money (I do not think I'll get the $2,000 out of the bag that he will need) but more about showing him how to creatively problem solve, network with folks, and make the best out of a bad situation.

He were are doing the cutting. I have to say, that was fun. I may want to visit some junk yards and do this again.
Picture
Picture
I really didn't have a set plan on how I was going to make a bag. I left everything on the table and walked by it about a hundred times while I worked it out. Well, actually, the first thing I did was wash them. Let's face it, the car was 11 years old and those seatbelts had been hit by a French fry or two over the years.
I have to say, they washed up really well. I knew I wanted it to close using the seatbelt buckle, so that let me to a messenger style. I had to make up the pattern since it was based on the amount of seatbelt I had. I had to cut strips and layer them to create "fabric" pieces
Picture
Picture
You know that phrase measure twice and cut once? Oh yes, I was there. I measured and recalculated about 10 times. I knew if I cut it wrong that would be the end of that. It's not like I could get anything else out of the Santa Fe.  Seatbelts are not particularly difficult to sew but they are SLIPPERY. I had to use pins a lot more than usual, and I have the battle wounds to show for it.
Picture
I ran into a few snags along the way. The first was that I used all the seatbelts from the Hyundai and didn't have anything for the strap. Luckily, I remembered that I had picked up a red seatbelt at The Scrap Exchange a long time ago (not knowing what to do with it at the time). Problem solved.
Picture
Picture
Next issue was attaching that buckle to the bottom without it looking "attached". Problem solved with more red seatbelt. I'd love to say I figured it out that fast, but ALAS sometimes you get brain locked. It took a definite minute or 30...
Picture
Picture
More process pictures above, and the end result below:
Picture
Picture
Picture
If you are interested in bidding or following the auction, the bag is listed here: http://www.ebay.com/itm/Seatbelt-handbag-upcycled-recycled-from-vehicle-/301548318066?
Also, feedback and blog comments are much appreciated! Thanks
5 Comments

Inspiration and Character of Vintage Bags

2/17/2015

2 Comments

 
It is funny, the things that can inspire a person. I love working with vintage bags, but you know that they come with some history. There are stains, rips and tears, places where someone wrote on them, paint, and sometimes they have the most permanent wrinkles you've ever seen. So  I could cast those items aside, (not likely) or make them make sense in a bag.

My inspiration for the vintage money bag makeover that I did today actually came from a belt. I thought this would make a really cool closure.

Picture
Once I really started cutting out my bag though, I quickly realized that my bag was going to have sort of an old west saddlebag feel to it. The money bags I used had "historical wrinkles" which wouldn't make sense if the bag came out too polished looking. Also, the money bags were vintage bags for pennies, so I ended up switching to this belt that had a penny color to me.
Picture
Let's get this party started, shall we? Here is what I started with - 2 money bags and a pair of capri style cargo pants. If there was more fabric to the pants I probably could have gotten away with using one money bag, but I needed extra fabric for the bands.
I chose those pants because I really like the pockets and the trim. The money bags can be a little problematic though, because they are pretty narrow and take some manipulation to work. You can see below that the graphic centered on the flap doesn't fit my pattern, so I had to add pant fabric to the sides. I really liked the snap bottoms of the pant legs so I wanted to use that somehow. They ended up on my flap also.
Picture
Picture
Picture
Picture
OOOH I love it when a plan is coming together! After getting my fusible fleece cut out and having my son iron everything I was ready to drive! My Husqvarna machine was buzzing for the next hour. Here's how it turned out:
Picture
Picture
Picture
This bag ended up with two outside pockets on the sides and four inside pockets. Textile history lives on!
2 Comments

Getting Past Creative Block

1/31/2015

1 Comment

 
This week's blog is a little off the beaten path. Normally I'd walk you though a new bag I was working on, but do you wonder what happens in my head prior to that sewing moment? People are surprised that I have the time to make as many bags as I do while holding down a full time job and navigating through life. Whether or not i'm "in the mood" to sew really depends on how inspired I feel. That inspiration usually comes from a completely non-sewing related place. Its sort of like I have this one room in my brain that is the creative room. The door gets shut sometimes - usually from life stress, but sometimes from trying to force myself to be creative. I suppose it would be like writer's block to an author (and i do refer to it as creative block). I have to find ways to get the door open otherwise I'm frustrated and freaked out that I can't get in there. My son has been witness to this many times. He tries to talk me off the ledge "you're not stuck just walk away from it for a minute.." but the more I focus on it the more that door gets extra locks added to it. You know those times that you can't fall asleep and you keep looking at the clock freaking out that you can't sleep which actually makes you more awake?? Yes, we've all done that. Same type of feeling.

So what do I do to break the cycle? #1 on my list is to get out in nature.


I love where i live. Hillsborough is awesome and its easy to feel inspired here. I can drive two miles and go for a hike at the Historic Orange Speedway (specifically on the James Johnston preserve). I can go four miles to Occoneechee Mountain. It is generally my hope to see some cool mushrooms and some sort of wildlife. I don't know why i've grown to have such an affinity to mushrooms. I think i've started realizing that the varieties are endless, and even when everything else looks dead they are still alive and thriving. Here are some of my favorites:

Picture
Picture
Picture
Shelf fungus like on the right and left are pretty crazy. They are wood-like. You can't just knock them off like kicking over a mushroom on the ground. They have to be cut off. (yes, I have taken a few before). Look at the one in the middle. Looks like coral! I haven't seen one like it since. Always looking though.

And while I'm hiking I would be disappointed if I didn't run into some sort of wildlife.
Picture
Picture

Picture
I know what some of you are thinking... "SNAKE!!!!!!" But I have to tell you, that was a cool moment. I watched it climb on that tree for a good five minutes or so. Don't get me wrong, if it went flying across the path I was on it would scare the crap out of me. But in this situation, it was trying to sun itself and it was very cool. It didn't care that I was four feet away watching it.

Now if I REALLY need to recharge my batteries I'll jump in the car and drive to Mooresville NC to go to Lazy 5 Ranch.
Yes, I realize I'm grown. But who cares?? Feeding animals right from the car is pretty darn awesome. They can slobber all over me, I don't care.
Picture
Picture
Picture
The North Carolina Zoo is pretty darn awesome too. I need to go to Lazy 5 and the Zoo in Asheboro at least once a year.

I also need to get out and get on a river. I plan on doing some kayaking and canoeing as soon as it warms up outside.
Picture
Picture
Picture
What inspires you? I'd love to hear from you! You can never have too many ways to feel inspired.
1 Comment

  We want the Funk!- updated 4-19-15

1/18/2015

1 Comment

 
Funk Brothers Seed Company seed sacks, that is.... Can you image if your last name was Funk? Either it would be a nightmare in grade school, or if you were coming up in the 70's it would be totally groovy! Either way, the bags that were used back-in-the-day to ship their hybrid corn seeds were SUPER COOL! The company does not exist anymore - after a few generations of mergers and acquisitions it is now owned by Syngenta. But there is no reason why this textile beauty can't live on in a new form :)
Picture


The first two bags i made sold immediately (oops!) Had I known that would happen I would have recorded my process on those for this blog. The two that sold were based on the graphics from the back of this bag to the left. Here is how they turned out:
Picture
Picture
The third bag in this series was going to be different as I no longer had access to the wording shown above. I did decide to go with this same style though. I was getting a little burned out on the messenger/cross-body bags despite their popularity. I used the same types of products to go along with this bag - cargo pants and a men's belt for the handles.
The men's belts can be a little tricky sometimes.
Picture
See how that belt has the bump down the middle? Well that makes it hard to sew it perfectly in half. I finally realized that if I would let the ends be staggered, it would actually look more interesting anyway - so that is how I do these now.
I always try to utilize as much hardware from the cargo pants as I can. These tabs actually came from the bottom of the pants. The pants had straps on the inside where you would roll up the bottoms to make them capri length and secure them in place. I was also a little bored with the middle of this piece and tried to come up with something that would give it a little pop. After spending way to much time on it (it was getting out of hand) I took the simple approach and used a piece of a belt in a lighter color. Here's the end result! You will see that the bags look thick, not flimsy at all. I reinforce the materials with fleece so they will be well-structured and strong.
Picture
Picture
Picture
Picture
My goodness! Who knew these bags would be so cool. I'm going to need to get my hands on a few more of them. Since this posting I've made a few messenger style (one is currently for sale as of this writing). I thought I'd post up a few pictures for you.

Picture
Picture
Picture
Picture
Picture
https://www.etsy.com/listing/230415332/vintage-funk-brothers-corn-seed-sack?ref=shop_home_active_1
1 Comment

Northrup King Vintage Bag - Happy 50th Birthday!

1/10/2015

3 Comments

 
What a fantastic surprise when this beauty came in the mail on Friday. I thought it would be the size bag I usually get, but WHOA this thing is HUGE!! with good graphics on the front and the back.
Another added bonus was it still had the original tag attached to it. Once I threw on my reading glass (sigh) I was able to see on the tag that this bag was prepped and shipped  in January of 1965. 50 YEARS AGO. How crazy is that? Happy Birthday you pretty bag. Now lets cut you up!!
I hated to remove that tag, but it was very cardboard-y and there was no way to incorporate it into a handbag. I did keep it though :) I will say, the staples that were holding it on were pretty old and gnarly, and I was glad that I am up to date on my tetanus shots....
Picture
Picture
Picture
I knew that I would be able to get two handbags out of this, but it really takes some planning. You make one wrong cut trying to cut out a piece and you've ruined your chances to make two of them because you've cut through fabric you needed for the other. I knew I wanted to see "New York" on a flap. City names are always popular. I also wanted to use the Northrup King logo from the front of the bag. Because both of these were in a hard to get to kinda place it was screwing me up on my other pattern pieces. I finally resigned myself to the fact that although I wanted to make two pleated bags, one would not be able to be. However, the end result still came out great! And luckily I had some cargo pants on hand to do the linings with lots of pockets!
Picture
Picture
Picture
Picture
Picture
Picture
3 Comments
<<Previous

    Author

    Lorie Malone

    Archives

    January 2017
    September 2016
    January 2016
    June 2015
    April 2015
    March 2015
    February 2015
    January 2015
    December 2014

    Categories

    All

    RSS Feed

Proudly powered by Weebly