
It is funny, the things that can inspire a person. I love working with vintage bags, but you know that they come with some history. There are stains, rips and tears, places where someone wrote on them, paint, and sometimes they have the most permanent wrinkles you've ever seen. So I could cast those items aside, (not likely) or make them make sense in a bag.
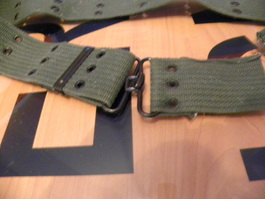
My inspiration for the vintage money bag makeover that I did today actually came from a belt. I thought this would make a really cool closure.
My inspiration for the vintage money bag makeover that I did today actually came from a belt. I thought this would make a really cool closure.
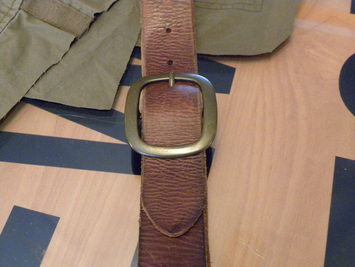
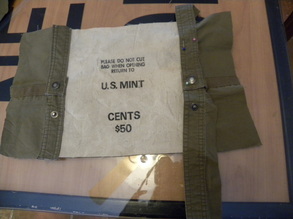
Once I really started cutting out my bag though, I quickly realized that my bag was going to have sort of an old west saddlebag feel to it. The money bags I used had "historical wrinkles" which wouldn't make sense if the bag came out too polished looking. Also, the money bags were vintage bags for pennies, so I ended up switching to this belt that had a penny color to me.
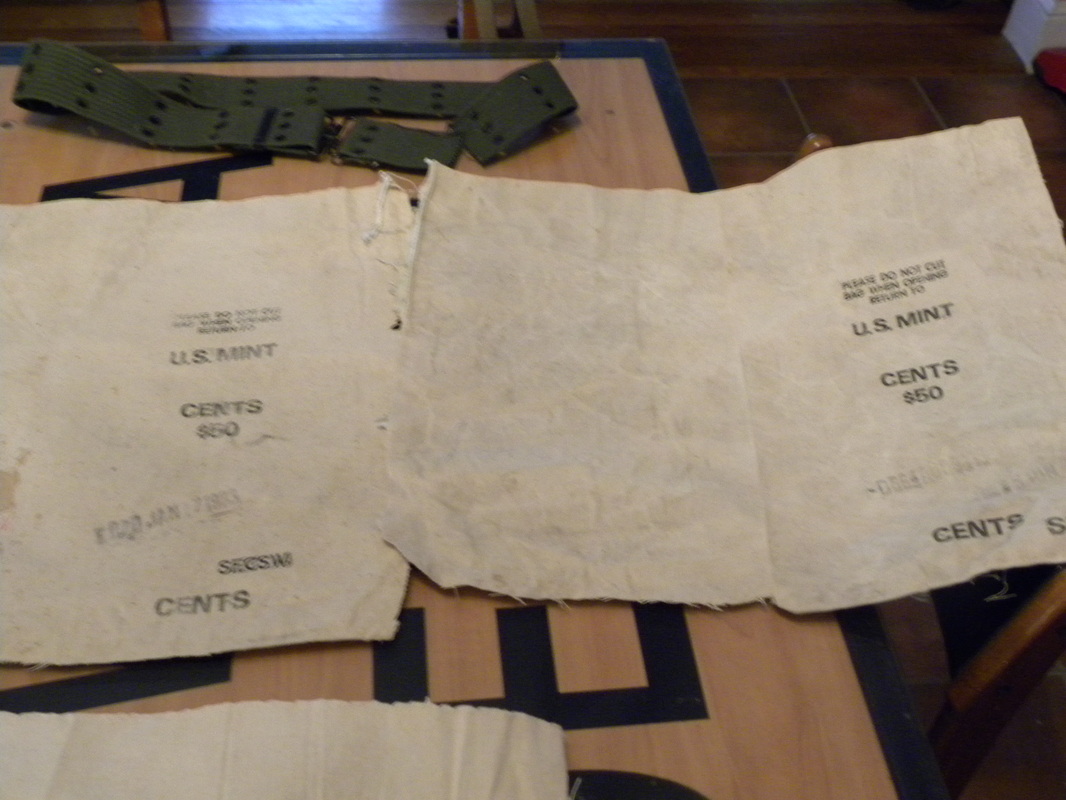
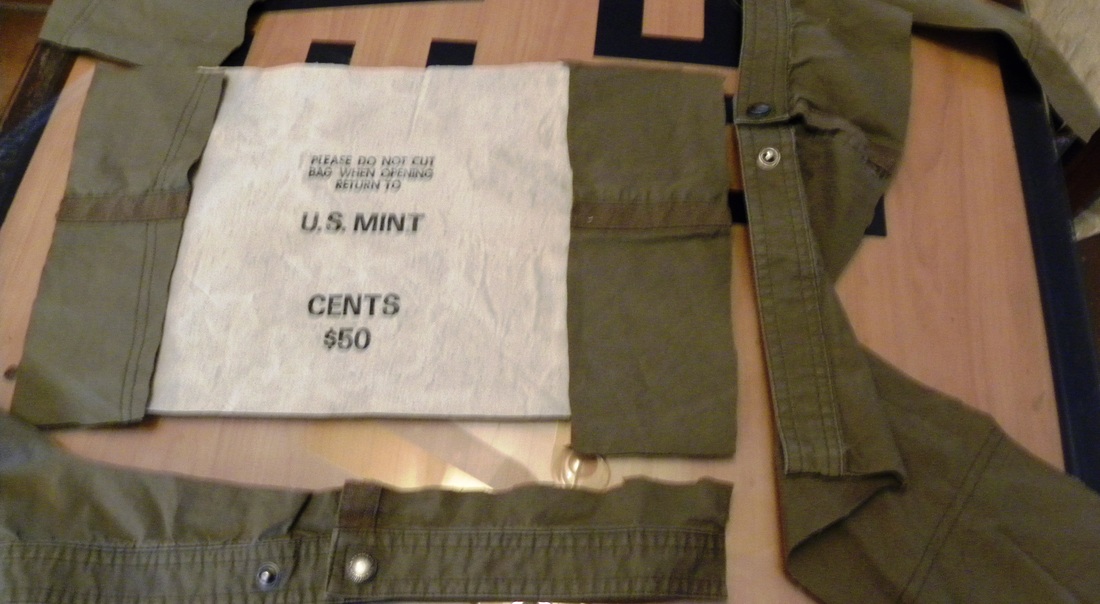
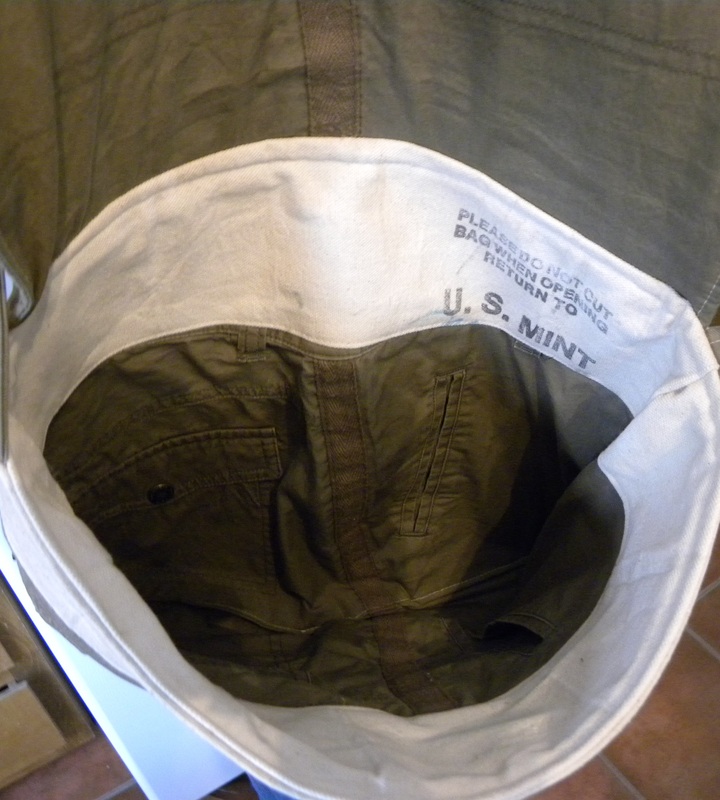
Let's get this party started, shall we? Here is what I started with - 2 money bags and a pair of capri style cargo pants. If there was more fabric to the pants I probably could have gotten away with using one money bag, but I needed extra fabric for the bands.

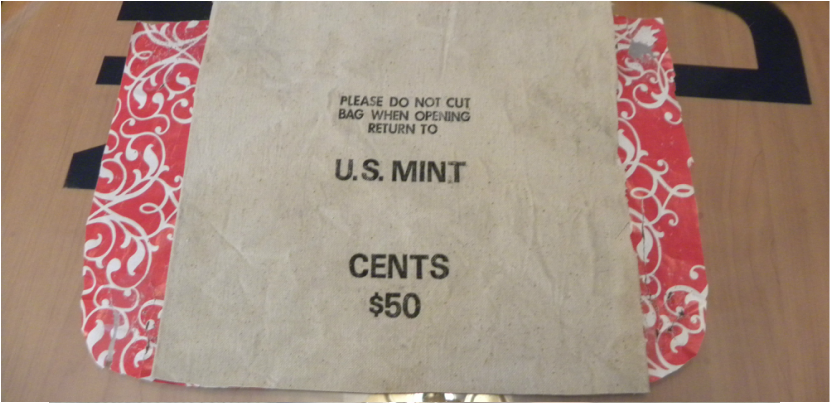
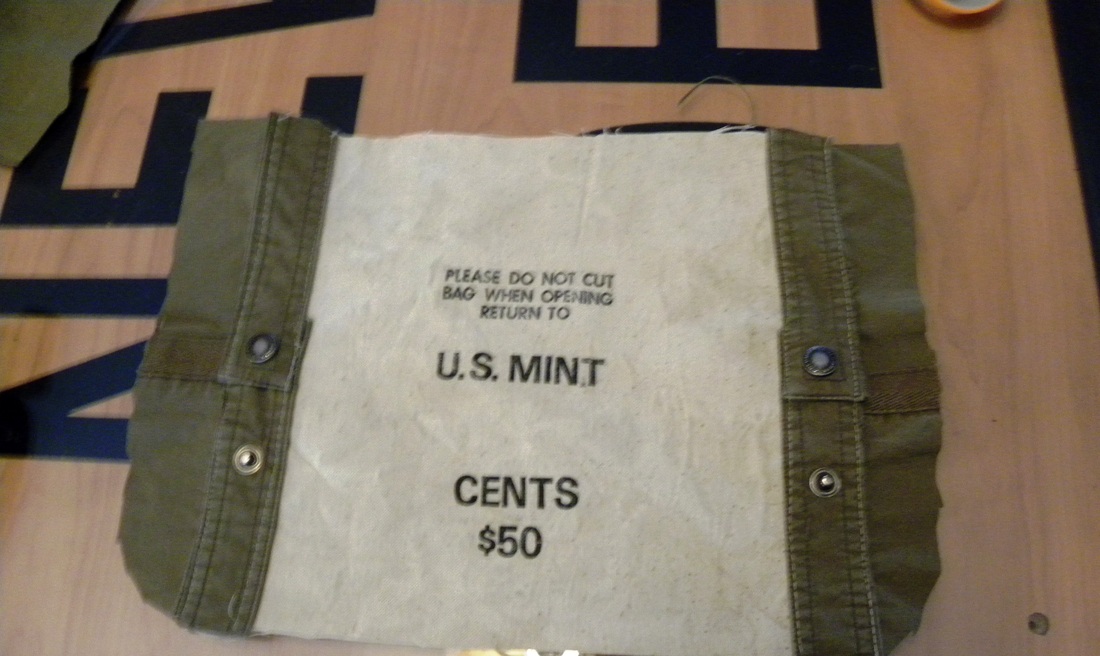
I chose those pants because I really like the pockets and the trim. The money bags can be a little problematic though, because they are pretty narrow and take some manipulation to work. You can see below that the graphic centered on the flap doesn't fit my pattern, so I had to add pant fabric to the sides. I really liked the snap bottoms of the pant legs so I wanted to use that somehow. They ended up on my flap also.
 |  |
 |  |
OOOH I love it when a plan is coming together! After getting my fusible fleece cut out and having my son iron everything I was ready to drive! My Husqvarna machine was buzzing for the next hour. Here's how it turned out:
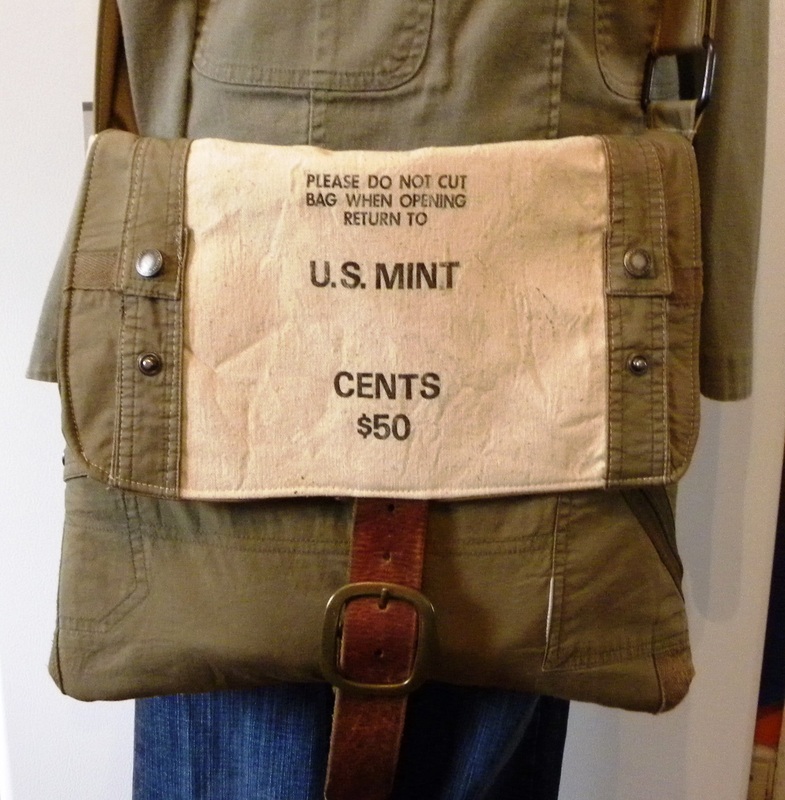  |  |
This bag ended up with two outside pockets on the sides and four inside pockets. Textile history lives on!
 RSS Feed