
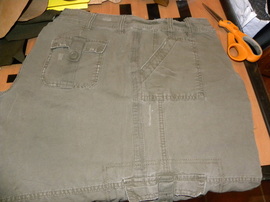
I love it when I find an item and feel totally inspired! I ran across a USMC jacket that I knew would look great as a messenger bag. And JUST MY LUCK I found two belts of a matching color on the same trip. I needed those for my adjustable strap! So here is what I started with:
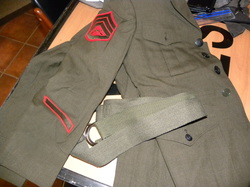
Cool right?! I thought so too. And let me just go ahead and give major credit to whomever chose the fabric and/or did the sewing. Wow. It was tough to cut up. I mean, teeth-clenching, hand-cramping scissors time. I may need to relax with some wine after this project.
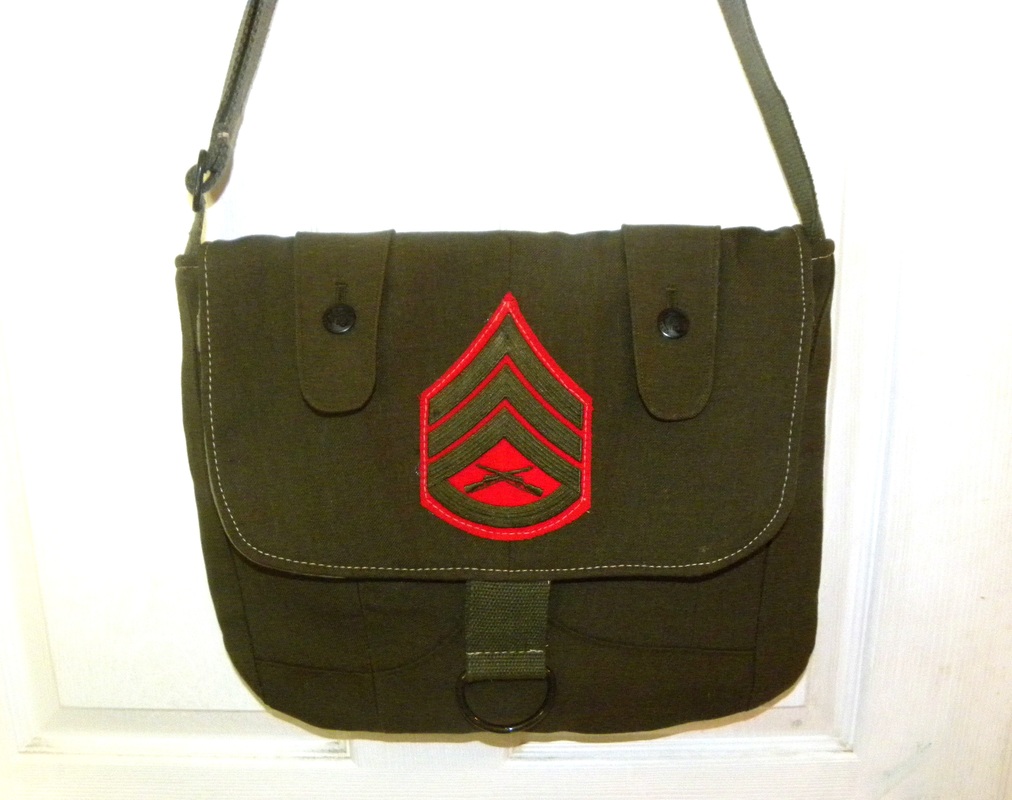
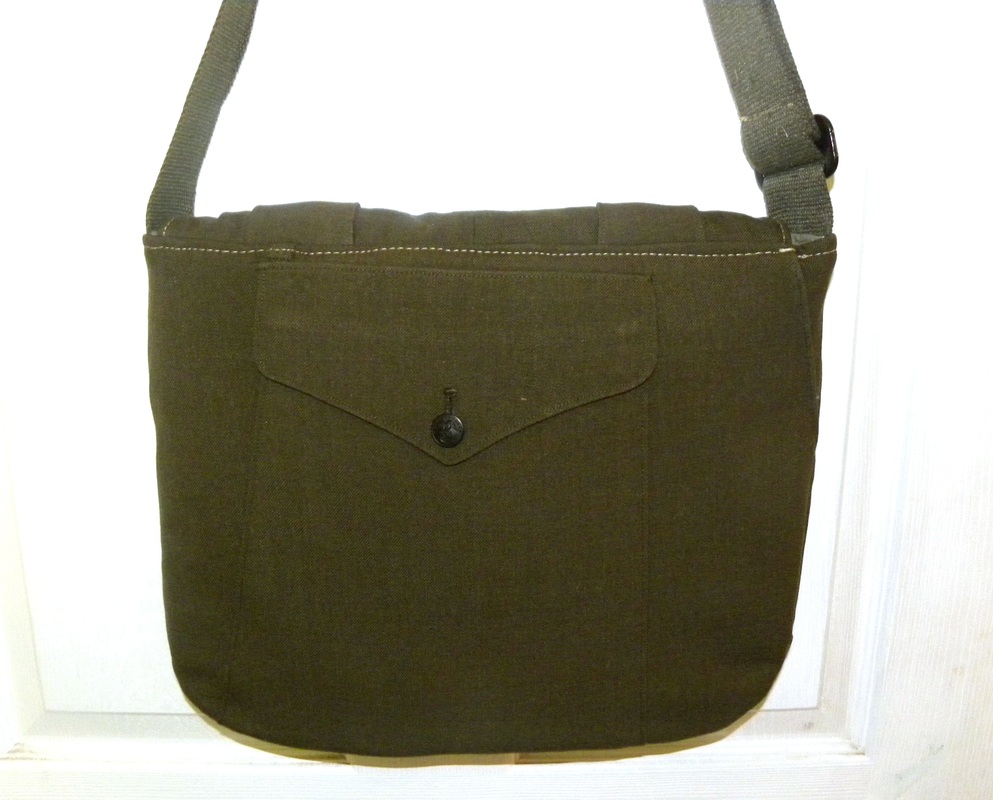
My goal was to use the main patch as a focal point on a flap and use one of the outside pockets on the outside of the back of the bag. Cutting out was a bit frustrating, as this was not intended to be a messenger bag originally :)
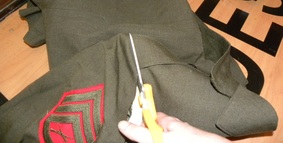
As I was cutting the sleeve off I realized it would be cool to cut off the shoulder flap thingies and use those somewhere too.
As I was cutting the sleeve off I realized it would be cool to cut off the shoulder flap thingies and use those somewhere too.
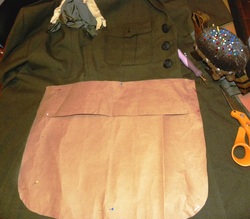
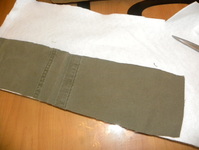
The front bottom pocket is HUGE, and it flares out at the bottom - which I hadn't encountered before. Normally I would cut out a band and a bag base but for this one I had to do it all in one piece to fit the pocket.
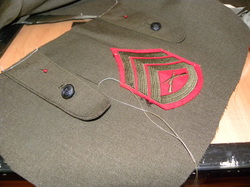
I was not able to use the sleeve piece with the patch so I cut out my flap piece from the upper back of the jacket and put the patch on it instead. And look at that! I figured out what to do with the jacket strap thingies. A word about this - I HATE to hand sew anything. I am so spoiled by my beloved sewing machine. I had to sew those buttons on. Have mercy. I have given up on projects completely in the past that required a simple button sewing, so trust me this is a big deal :)
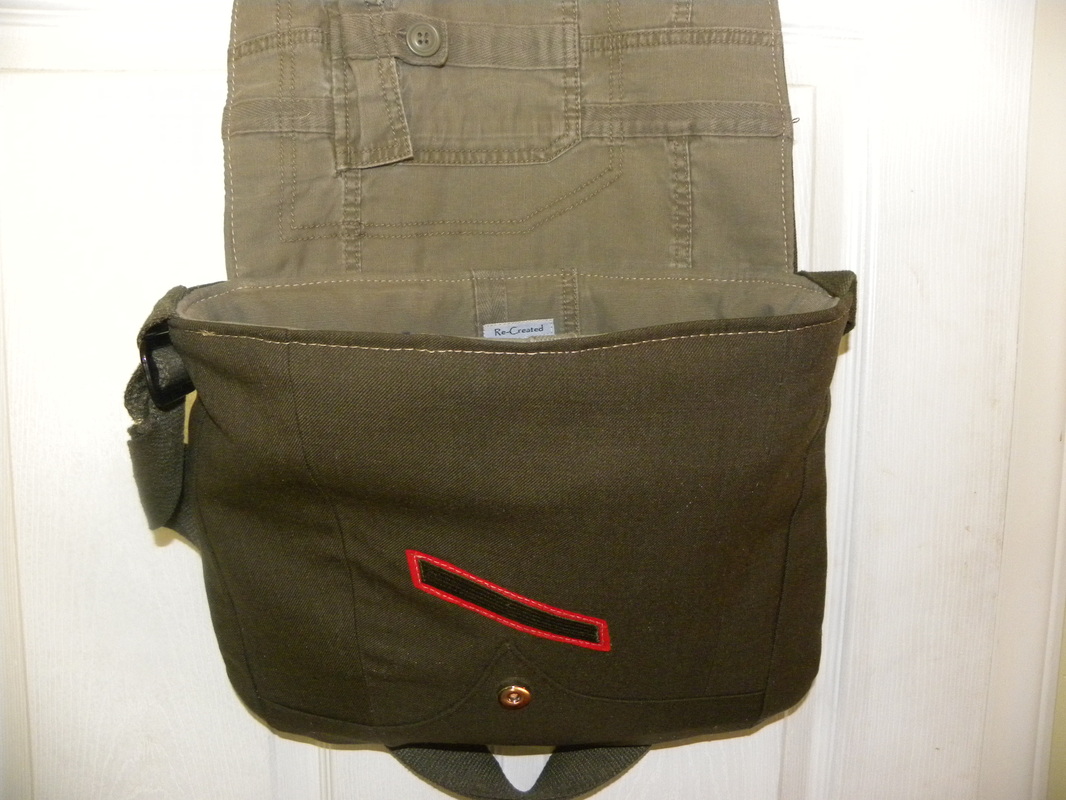
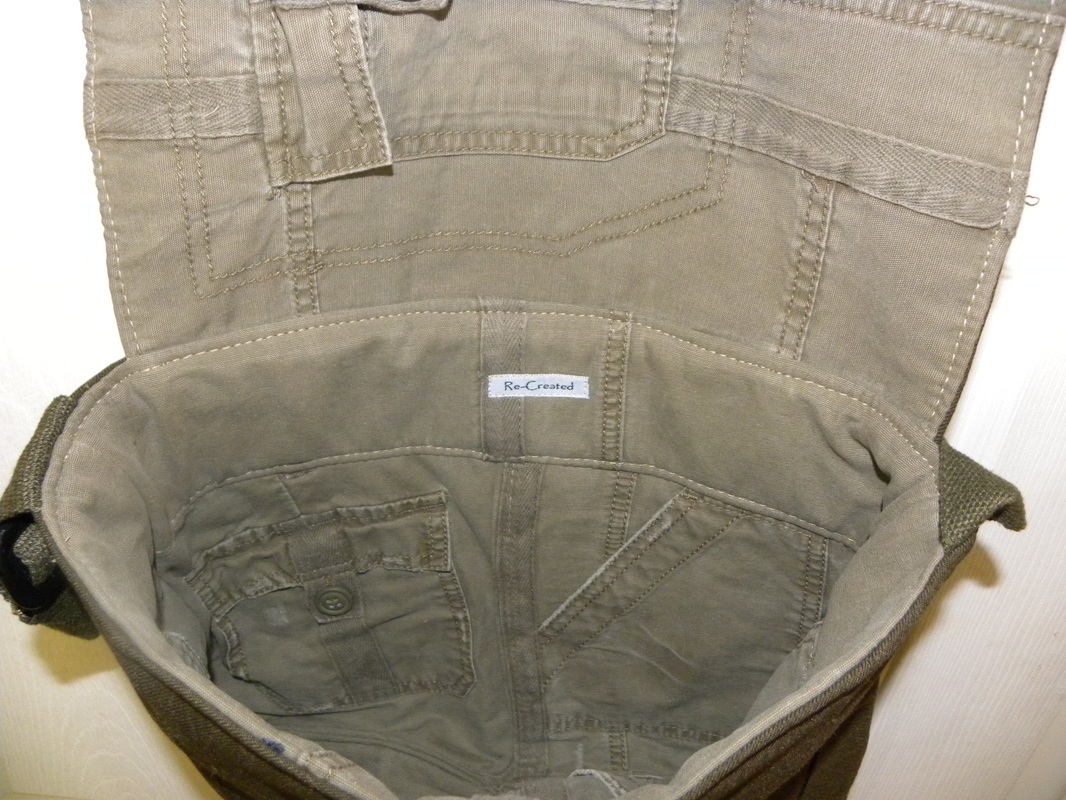
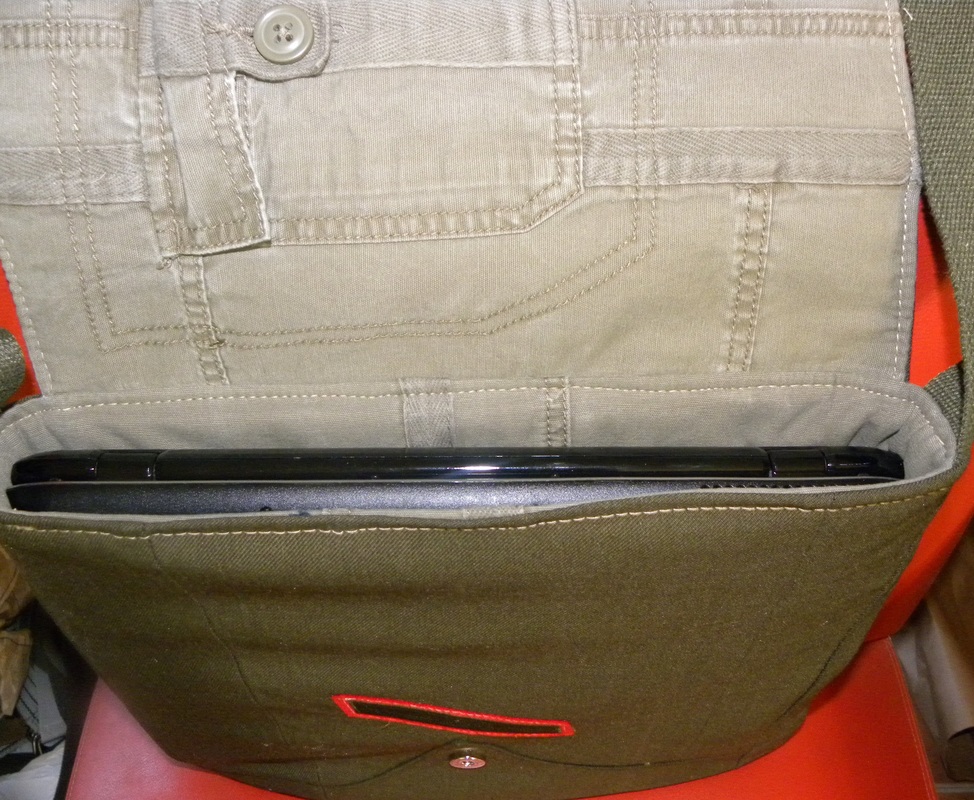
No bag of mine would be complete without the use of cargo pants for the lining. Its such a great way to upcycle. It looks fantastic and gives you lots of pockets and no new material has to be used. Yay recycling!!
One thing I do with all of my bags is I back each piece with fusible fleece. This gives the bag tremendous structure and strength. I go through about 15-20 yards of fleece a month, but the result is well worth it. Once everything is ironed and fleece is adhered, we are ready to sew!

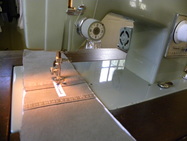
People frequently ask about my machine. Without it I could not sew what I do. I killed three machines before I found out about Sailrite, so if you are looking to do any heavy (super heavy) sewing you should check them out. www.sailrite.com I have the Ultrafeed LSZ-1. You are not seeing double in my picture! I have two of them. My friend Monica helps me in the sweatshop and I need all of the stitch work to be the same.

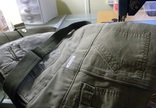
I have to sew through a lot of layers when I'm adding the flap. This doesn't even include sewing the liner on! That comes later.
I inherited my Mom's green 1970's Sears Kennmore sewing machine and its fantastic for lighter weight sewing (like sewing on my Re-Created tags).
OOH I am at one of my favorite parts here. I have sewn the bag, attached the liner, closed the liner, and I'm about to tuck it all together and top stitch it. Almost done!

This is a Very important finishing tool! Ok, so its a meat tenderizer. But when you need something and you don't have the right tool you get creative, right? This, in combination with the wooden arm on my 1970's chair, is perfect for hammering out extra thick seams before topstitching.
Before I show you the finished product, I'd like to say that its my intention to continue to make these (based on the availability of materials). When I thought about this project, I thought it would be a great idea to give a portion of the funds to a military cause. Since I'm very small scale with this at the moment, I'm going to donate to 50% of any USMC bag sales to my brother-in-law, who served as a Marine, to honor him for his service. He would never allow me to do this (he has no idea what I'm up to!) so I will have to be creative and sneaky to get the money to him. Maybe it can mysteriously show up in his laundry? Any suggestions let me know! I'll have to be stealthy though, he does have that Marine training. :)
 RSS Feed